

This last and final step in any project is often the most dreaded for crocheters. When you have to weave in the ends! All of the crocheting is done, but now you want to hide those pesky tails so they don’t stick out or accidentally come apart.
So how to weave in ends crochet? I have two methods, one for most projects and the other for amigurumi specifically.
Before you get to this point in your project, make sure you’ve fastened off your crochet project! (Read how to do that here).
*This post may include affiliate links. When you purchase items from these links, we will receive a small commission, at no extra cost to you, to help support this website. Thank you for your support! Read more ->
What You’ll Need
-Your crochet project
-A yarn needle
–Scissors
How To Weave In Ends Crochet
So I have a go to of how to weave in ends in my crochet projects, whether it’s for a big cardigan or a small hat. This method ensures that no ends are going to pop out and appear where you don’t want them to show!
Some people like to weave in ends as they go, which is a great way to not have to do them all at once! But I tend to wait until the end of the project to weave in ends, in case I have to undo some of the crochet, then I don’t have unweave the ends too.
Look at the image at the top of the page for an easy overview, or keep scrolling for picture by picture instructions!
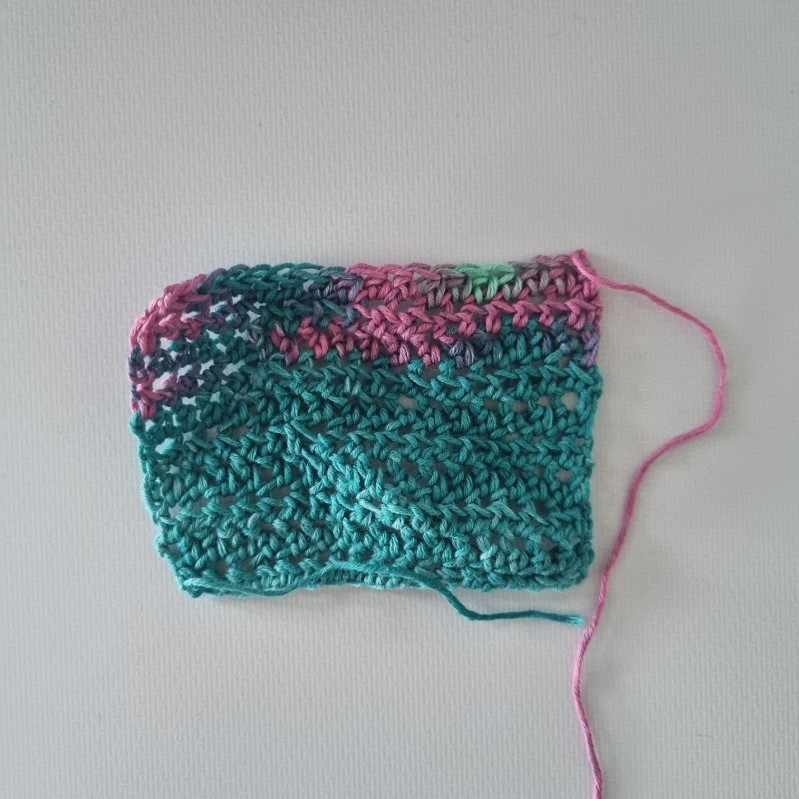
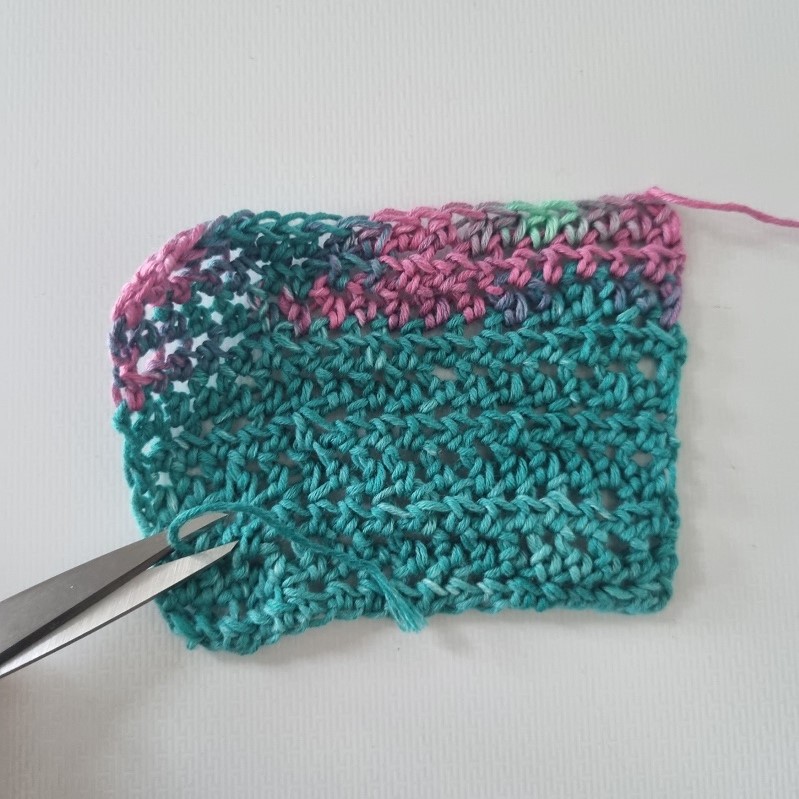
First, bring the tails of your yarn to the back of your project. If you haven’t decided on a front/back, now is the time to choose.
Put your yarn tail through the end of the needle! Then, weave the needle through 4-5 stitches in one direction away from where your project ended.
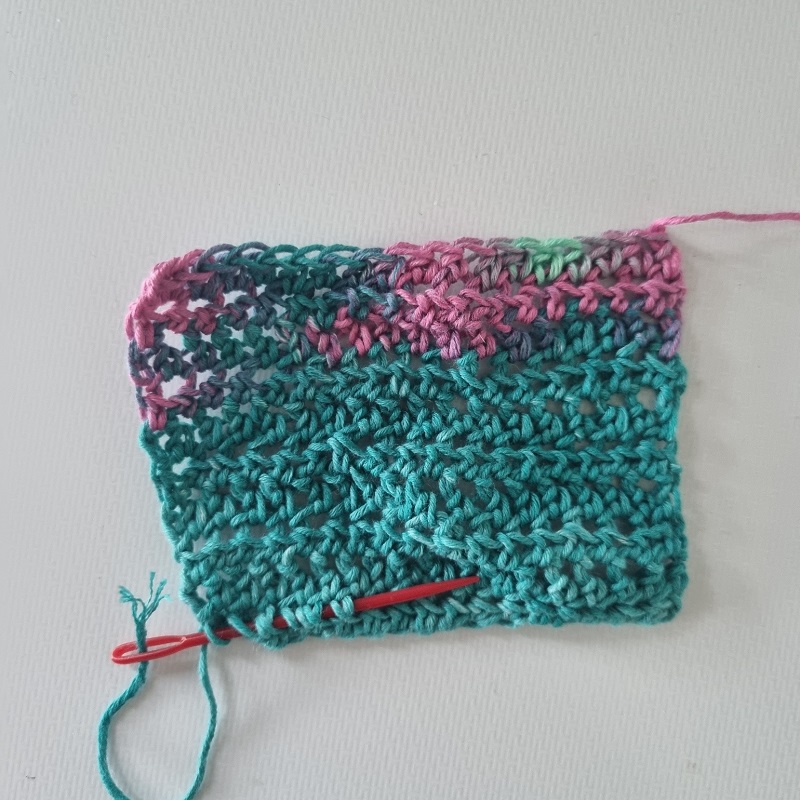
Then, go the other direction, making almost an L with your yarn weaving. Go through at least 1-2 stitches this direction.
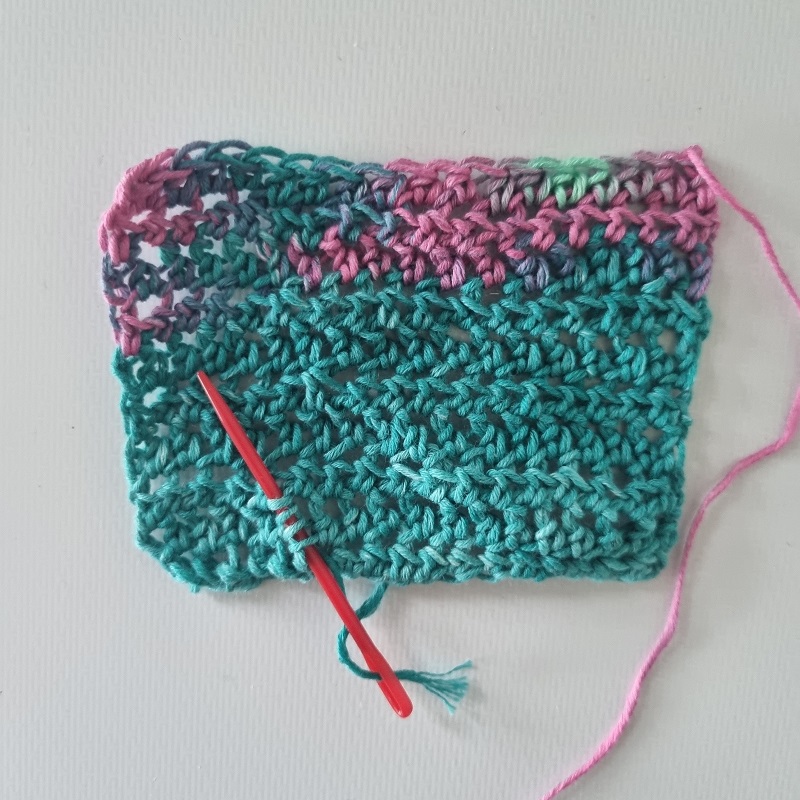
Finally, go back in the opposite direction the of the first weaving in ends, to get you back closer to where your yarn tail started.
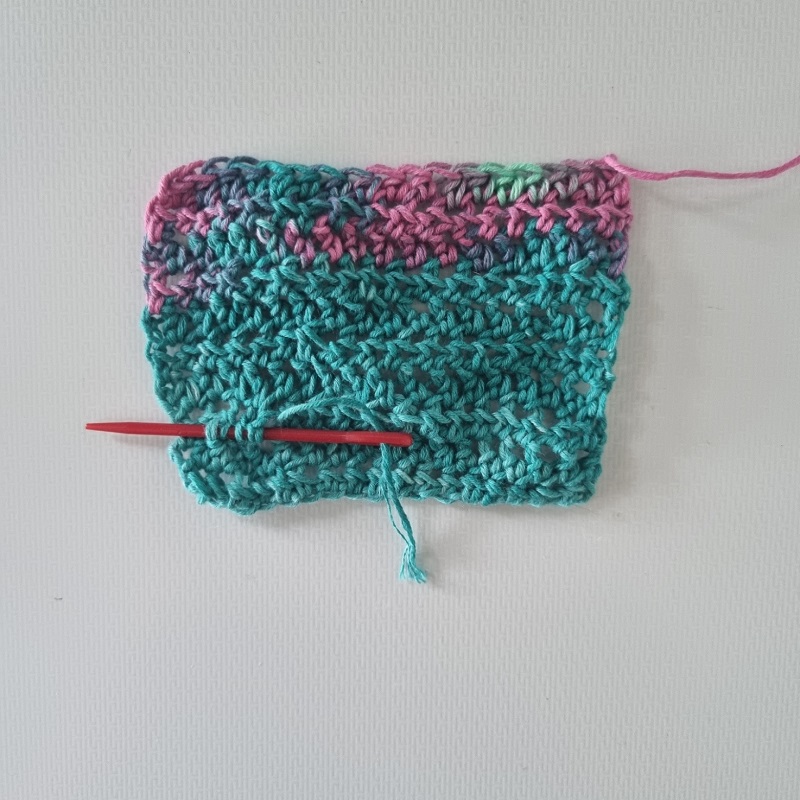
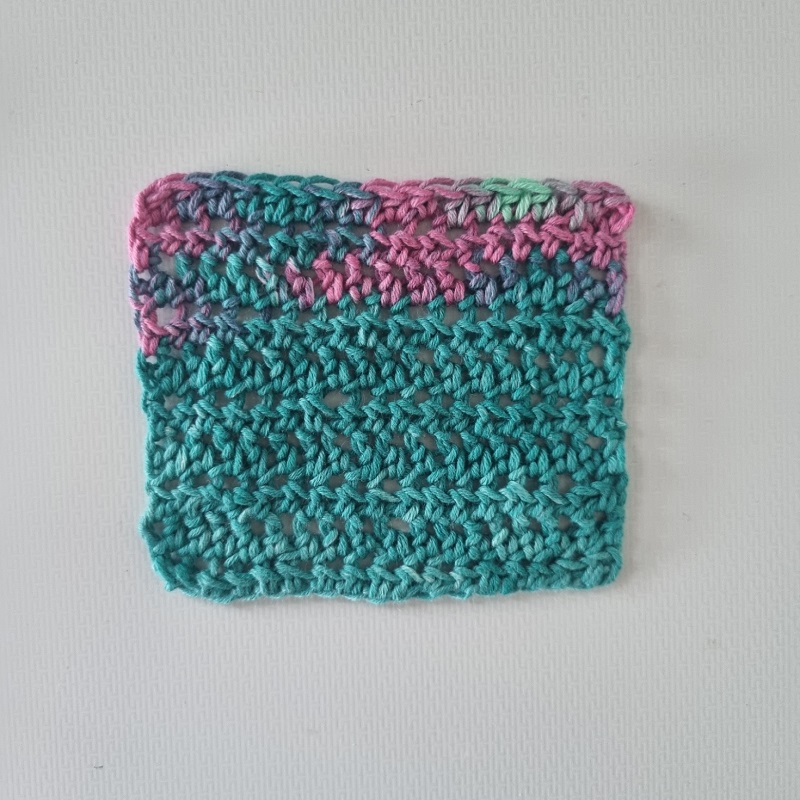
Next, pull the yarn semi-tight, and cut near the edge of your crochet project (without accidentally cutting your project!). Once that extra yarn is released, it will go through one of the stitches you just wove the yarn through, making sure the yarn is hidden!
Repeat for any other tails on the project!
Optional Extra Step
If you’ve got a big project that you might be worried about unweaving (I’ve accidentally had a sweater start losing it’s seamed stitch before because I cut the yarn too short), I have one extra step.
Once you’ve taken the yarn through some of the crochet stitches, tie it around one on the back. Do two knots. This gives extra security to the project not accidentally coming apart!
Then continue with weaving the yarn though.
Weave In Ends Crochet Amigurumi
So amigurumi is vastly easier when it comes to weaving in ends! And here’s why: When crocheting a garment or something, you don’t have anywhere to hide the strands easily. With anything that has stuffing inside of it and the inside is closed off, you do!
Start by making sure that the project is tied off and fastened securely. Then:
Get a darning (yarn) needle and stick it through the project, starting where the tail ended and going out anywhere a ways away. (I’m using a doll needle so you can see it better, but a regular yarn needle will work just as well!)
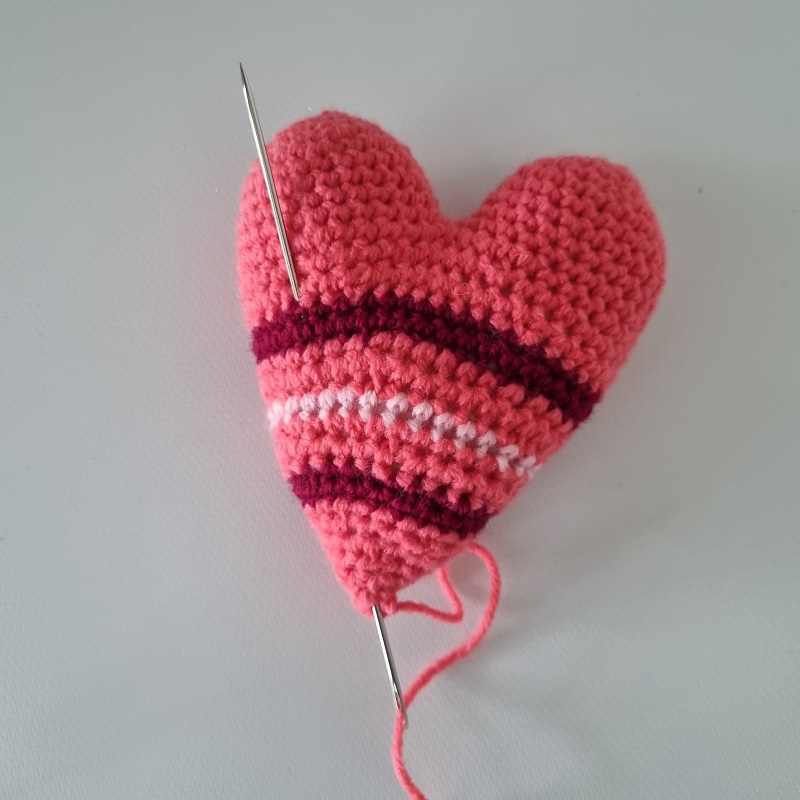
Pull the yarn all the way through the project.
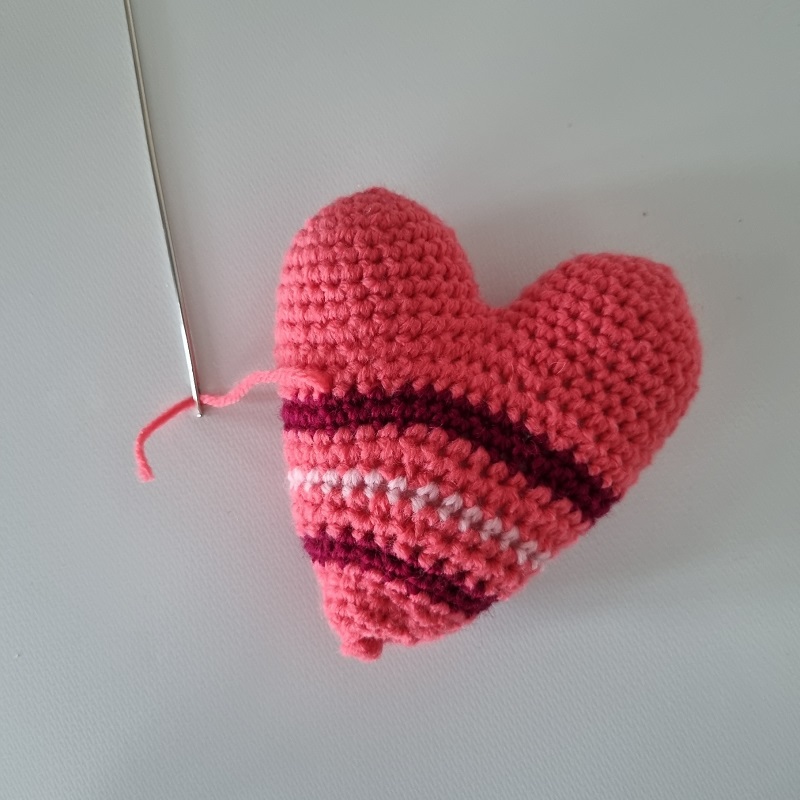
Keep the strand taut, and cut off near the edge of the amigurumi. When the yarn is released from the cut, it will go back a bit into the project.
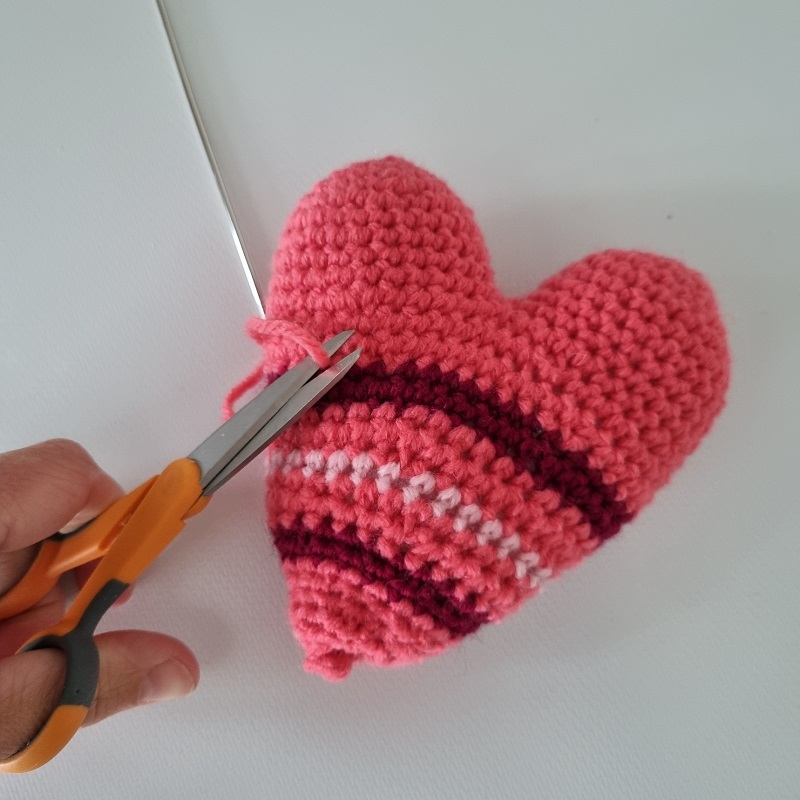
And that’s it! Repeat for any other loose ends and you’ve got all of your ends woven in for your project.
Weaving in the ends of your crochet project doesn’t have to be as big of a pain as people make it out to be! Just have something on in the background and you’re project will be done in no time!
Now time to put this practice to good use and try it on a crochet project, like the color changing moss stich beanie!
