It’s almost impossible to do a crochet pattern without having an increase or decrease row. But inevitably, decrease rows are a lot more obvious than increase rows. That’s why it’s great to know how to do an invisible decrease crochet stich.
Luckily, there’s a way to make your decrease invisible! It’s a really simple trick and you’ll be wondering why you hadn’t been using this stitch all along.
This invisible decrease is especially great for amigurumi, where you really don’t want anything to stick out and be obvious.
*This post may include affiliate links. When you purchase items from these links, we will receive a small commission, at no extra cost to you, to help support this website. Thank you for your support! Read more ->
So how do you do this stitch?
Keep in mind, I am left handed so the pictures may look slightly different, but it works the exact same way for right handed crocheters!
Related: How to change color crochet
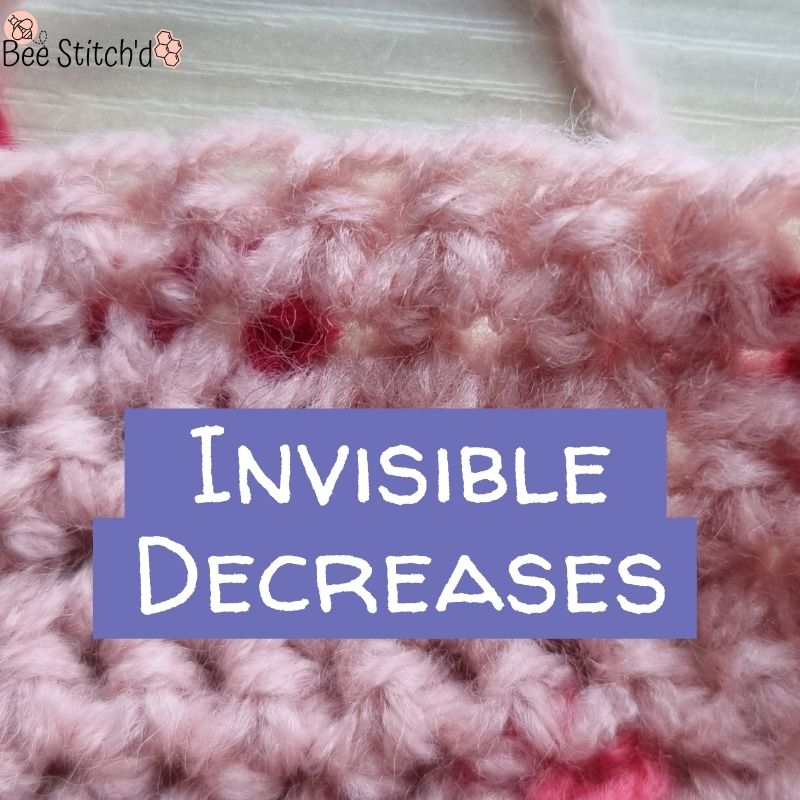
Invisible Decrease Crochet
The first and most important step in doing this invisible decrease crochet stitch is to choose which side is going to be the right side out, and which side is going to be the inside. I know some people say there is a right side and wrong side to crochet, but in my opinion, just go with the side you like the look of more.
Before we look at the invisible decrease, let’s just go over what a regular decrease looks like to compare.
Regular Decrease
With a regular decrease, you pull up a loop through each of the two stitches you’re decreasing, and then yarn over, and pull through the 3 loops on your hook.
This makes it a slightly thicker stitch than the other ones around it, which is why it’s not always ideal.
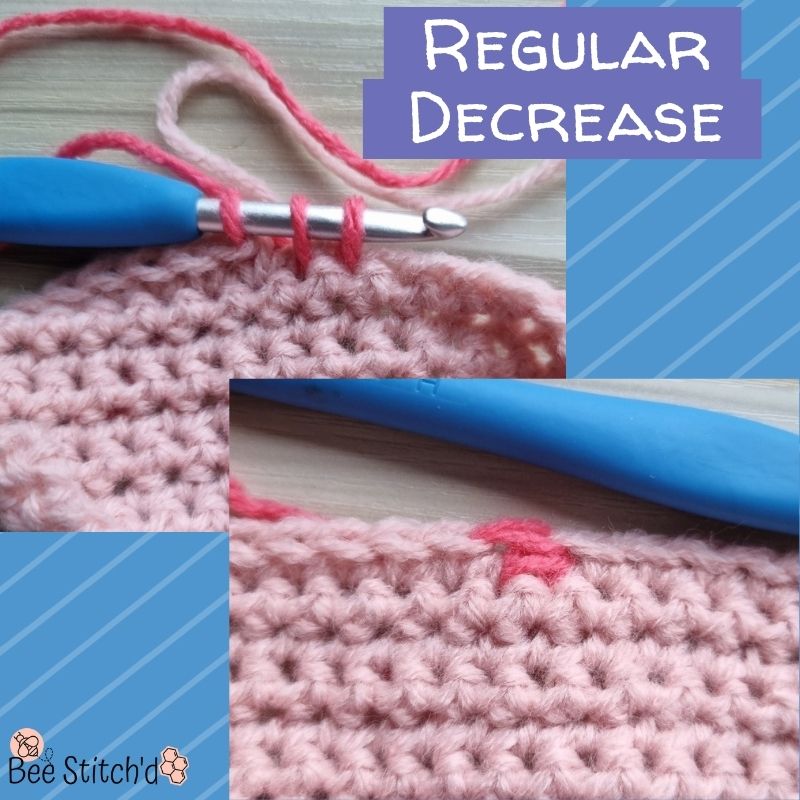
In the image above, the decrease is done with the darker pink yarn. You can see that two new loops have been picked up through the lower stitches, and then when the stitch is done, one loop will be in front of the other. This makes it a visible decrease.
Invisible Decrease
With the invisible decrease, you’re actually only picking up one strand of the stitch, like you would for a back-loop-only or front-loop-only stitch. And you’ll do that through both of the stitches you’re decreasing. That does mean you will have to have a right and wrong side of your work.
This makes it so that you have the same amount of stitches on your hook as you would a normal stitch, making it less bulky and less visible.
The images are of using the front loops only, back loops is almost the same process and you can find pictures of that by scrolling further down!
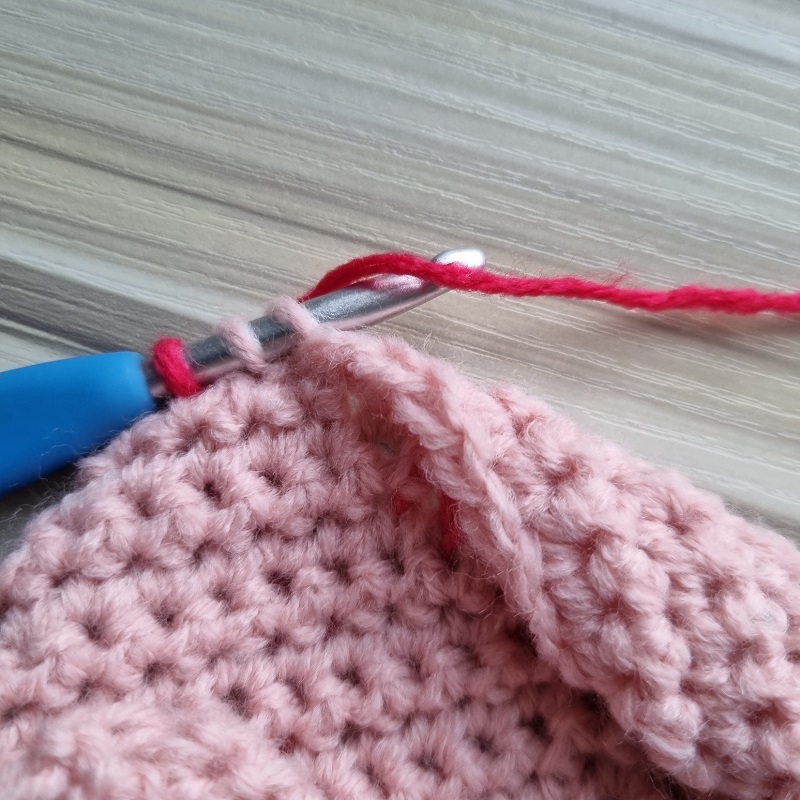
Start by putting your hook through the front loops only of the next two stitches (the ones you want to decrease). Yarn over on the hook.
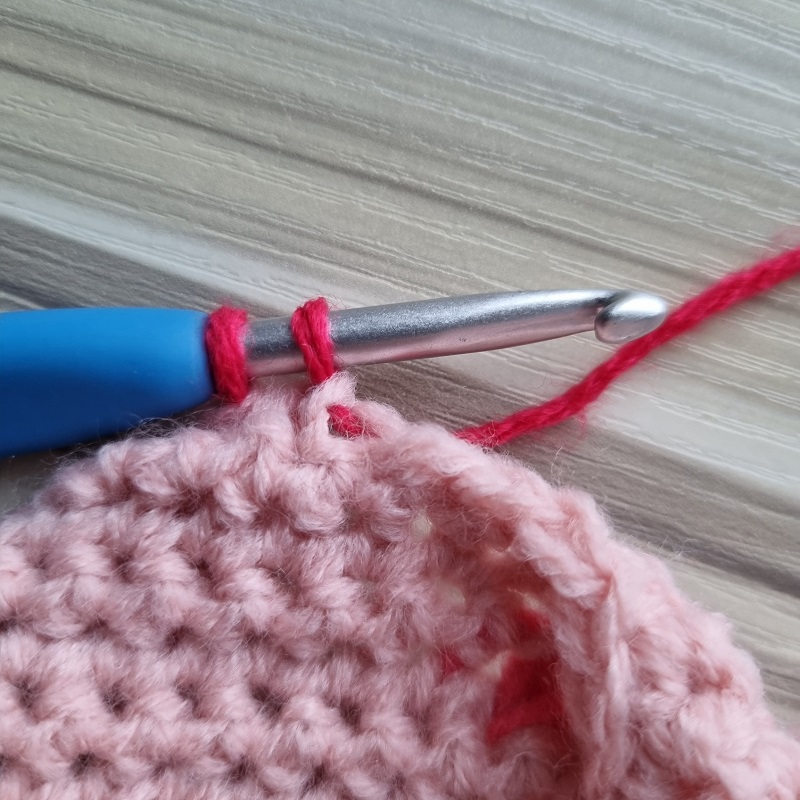
Pull the yarn through the two front loops on the hook (light pink), leaving the loop you started with on the hook.
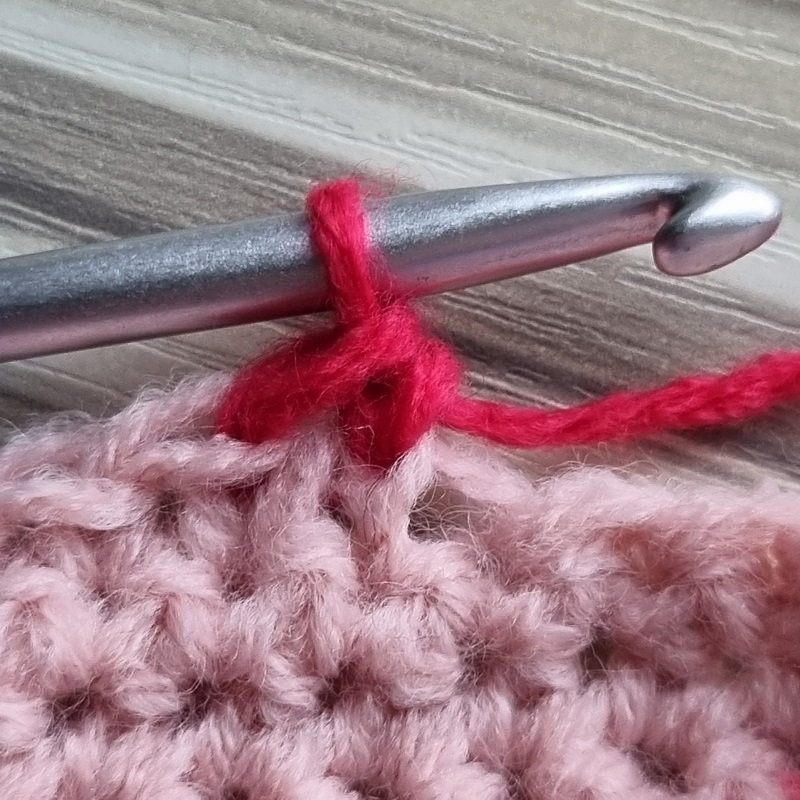
Yarn over one more time, and pull through the two loops left on the hook.
Try out this invisible decrease on Liv the Bumble Bee!
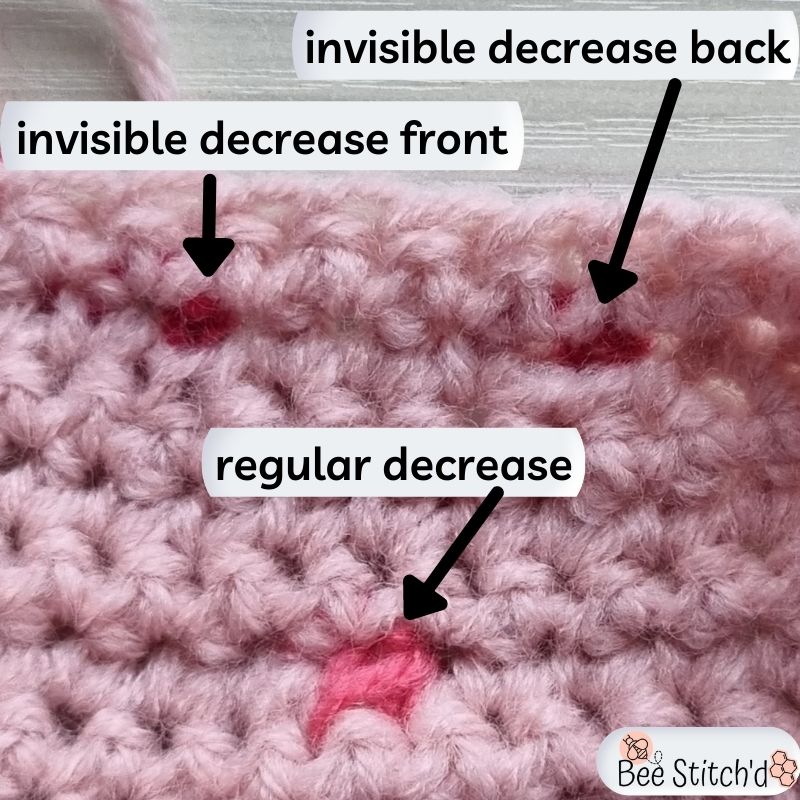
Why You Have To Decide on a Front and Back
Unlike a regular decrease that looks the same on both sides of your work, the invisible decrease is only invisible on one side of your stitching. The other side will be visible.
So depending on how your project is flipped while you’re working on you’re project, and which side you want to be the front, you’ll either want to work in the back loops only, or the front loops only.
If you’re working in the round, you’ll do the same ones each row (so front loops only each row). If you’re flipping your work each row, you’ll want to alternate to make sure they don’t show on one side.
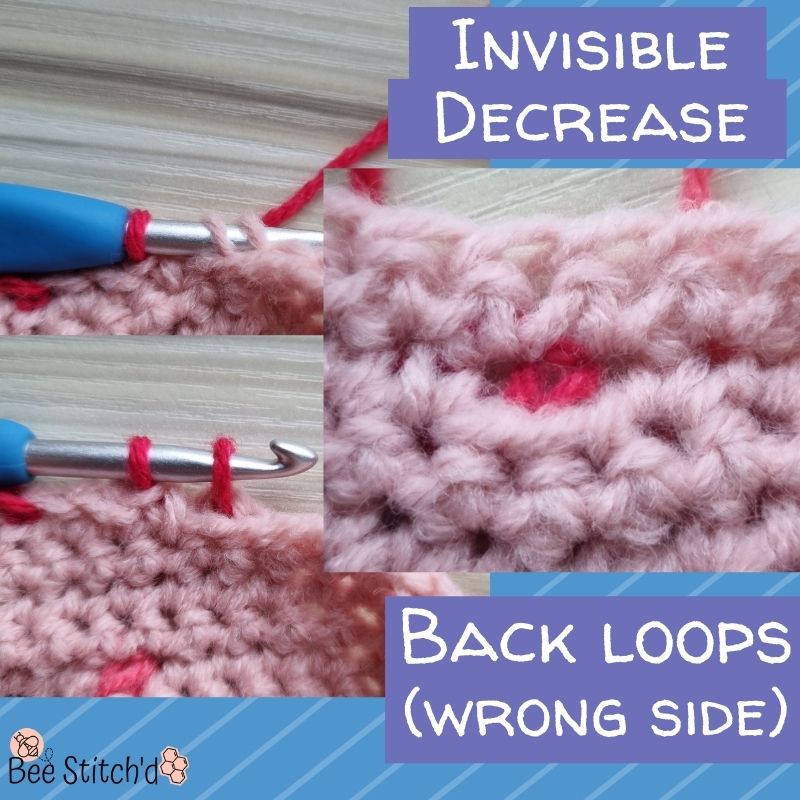
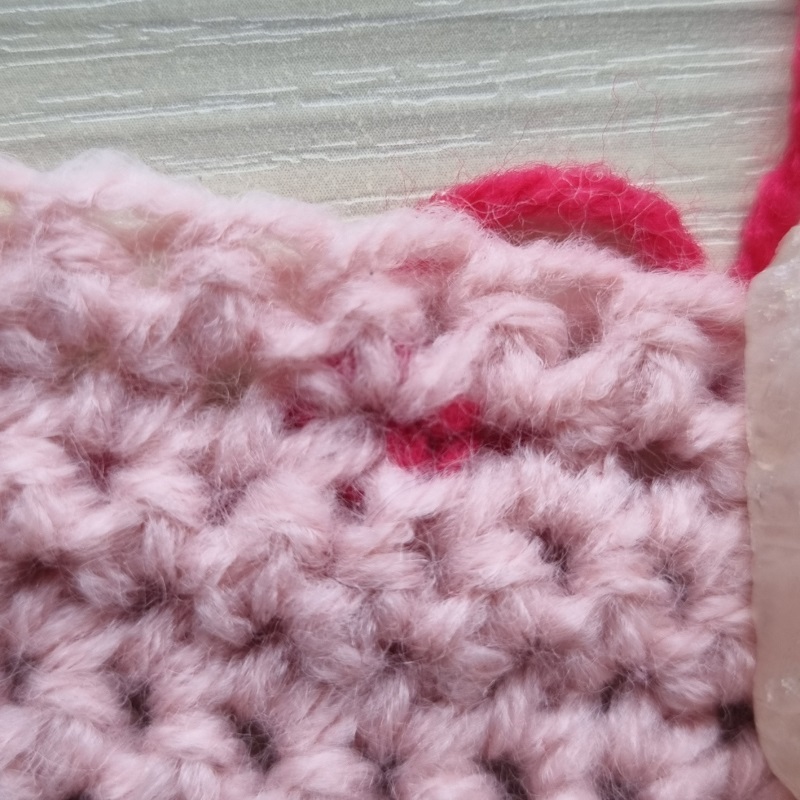
In the image above, this is working on the wrong side of the project. The dark red yarn is the decrease. Go through the back loops of the two stitches you are decreasing in, yarn over, pull through the two back loops, yarn over, and pull through the last loop on the hook.
In the zoomed-in image on the right, you can see that it does make a kind of bar at the bottom, which is the two front loops that were left alone. This is the visible side of the stitch, so it needs to be on the back side of the fabric.
Hopefully this helps! This invisible decrease crochet stitch is a great one to know, especially for amigurumi. Check out patterns to try this on here or on Ravelry!