
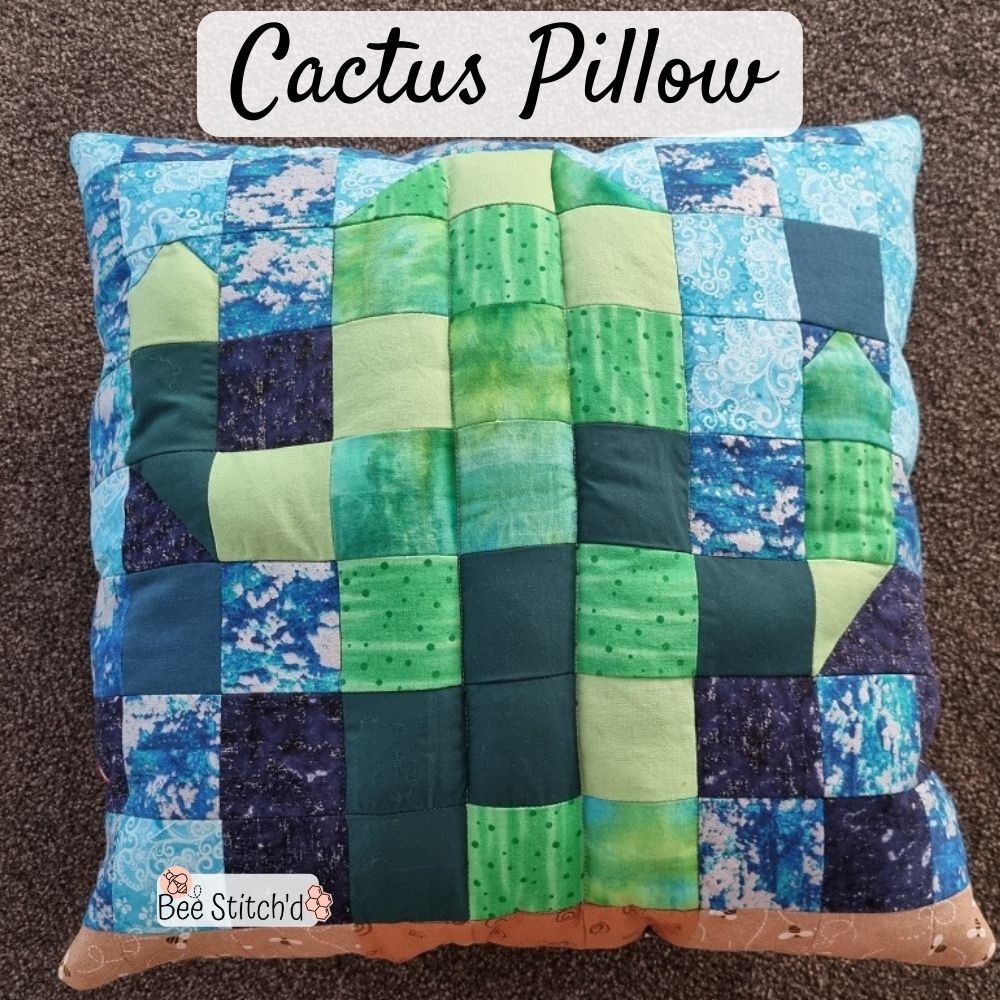
While I’ve done a lot of sewing and crocheting, I’ve never done much of patchwork before. It just seemed slightly intimidating, what with making sure all of the lines matched up! So I thought I would start with this cactus pillow. And it was a fun and fairly easy project!
The great thing with patchwork patterns is you can easily adjust it to the size you want to make it. Mine came out to be a 50x50cm (20 inch) pillow, which is a great size. But you could easily just make the squares bigger or smaller depending on your size preference.
Cactus Pillow Project Overview
This cactus pillow is made of 81 2″ squares that are sewn together, with a few on angles. It’s fairly easy to sew, as long as you keep your lines straight! I did stuff the actual cactus section a little bit, to make it pop out more from sky background.
*This post may include affiliate links. When you purchase items from these links, we will receive a small commission, at no extra cost to you, to help support this website. Thank you for your support! Read more ->
This is only going to go over how to make the front patchwork part, and once you’re done, just choose a back fabric and add a zip to finish off your pillow!
I did make 2 different cactus pillows – one for me, and one for a friend. So some of the pictures may have squares in slightly different spots!
What You’ll Need
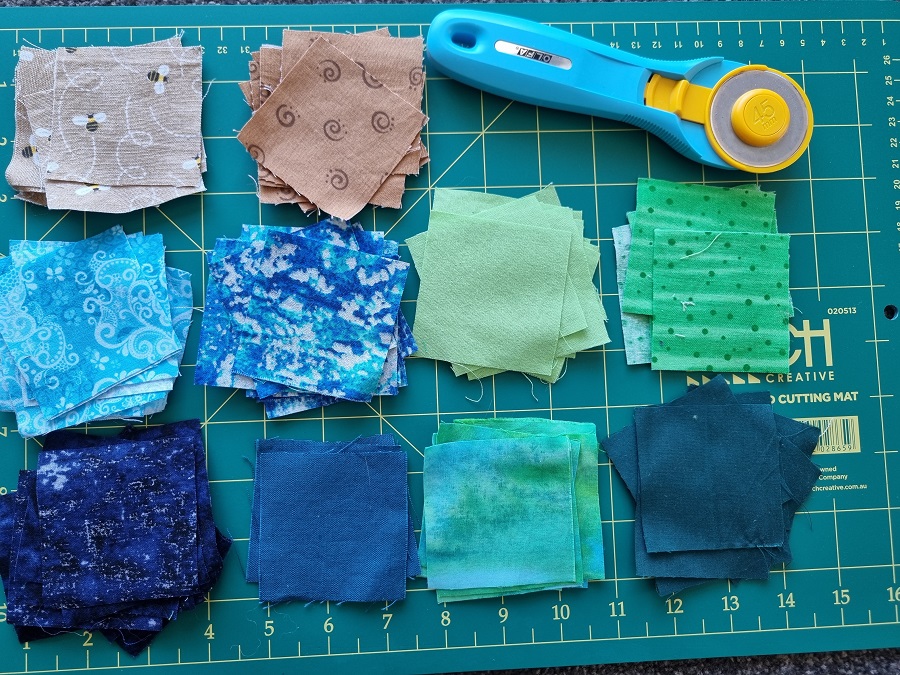
Around 9 different colors of fabric (4 green, 3-4 blue, 2 brown). You’ll need less than a fat quarter amount, and scrap fabrics you have work really well for this!
Backing fabric
A zip
Lightweight wadding
Small amount of stuffing
Pillow insert – 20 inch (50cm)
Sewing machine, iron
Thread – get one that’s about the same color as one of the green fabrics for top stitching
Rotary cutter, cutting mat, ruler (these are optional but will help to ensure all of your squares are the same size
Finished size: 20in x 20 in (50cm x 50cm) pillow
Instructions
Once you have all of your materials, it’s time to get into making your patchwork cactus pillow! There is a decent amount of prep work before you actually start sewing: make sure you’ve washed and pressed all of your fabric to make sure it doesn’t shrink after you’ve made your project.
Cut The Fabric & Decide Where The Pieces Go
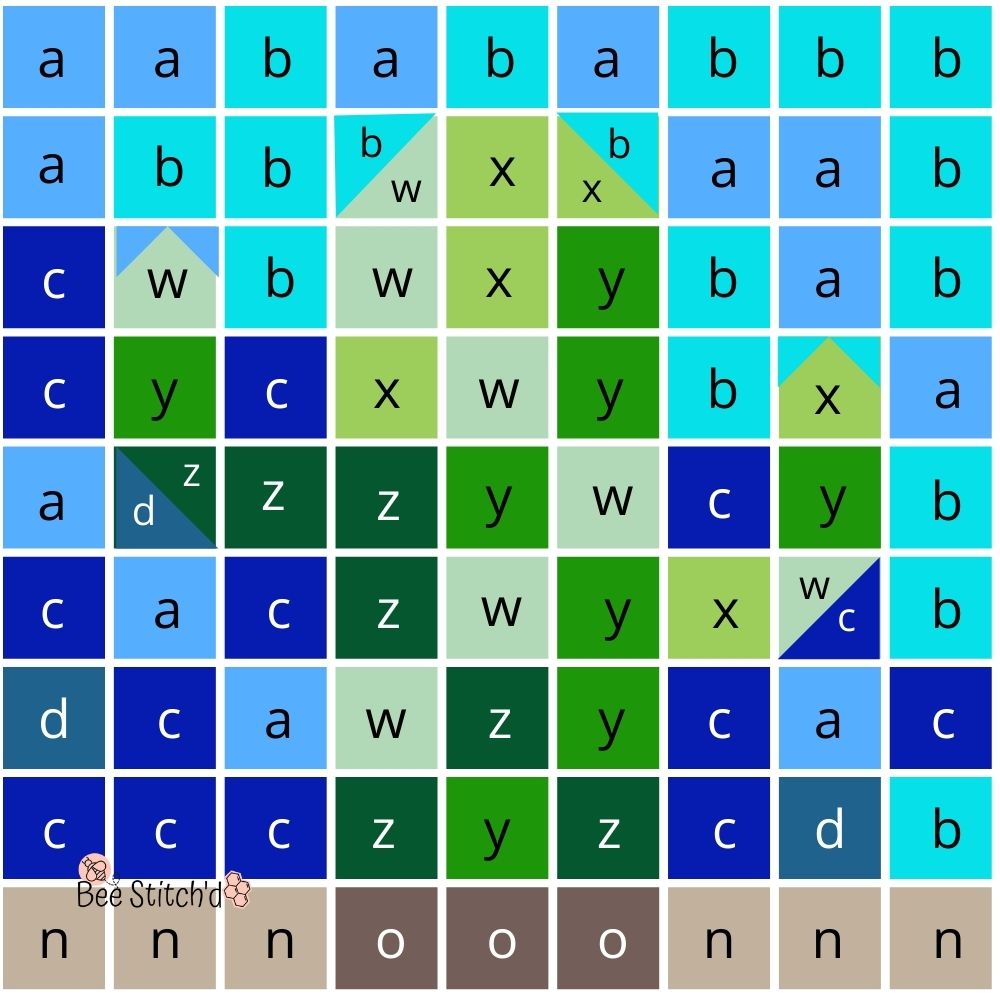
Start by cutting a bunch of 2″ by 2″ square pieces of the fabric. You can kind of follow the chart above for how many of each you’ll need, but about:
- A: 15-18 light blue
- B: 18-20 bright blue
- C: 13-15 dark blue
- D: 3-6 other blue
- W: 8-10 sage green
- X: 6-10 lime green
- Y: 8-10 green
- Z: 7-10 dark green
- N: 3-6 light brown
- O: 3-6 darker brown
Once you have all of these cut out, lay them out and decide where you want them to go! You can follow exactly the chart above, or move them around to how you think looks best. 6 of them are sewn on an angle to make points, so make sure to have a few extra pieces for when you’re sewing those.
Sewing The Rows
Next, sew the rows of fabric. Make sure that all of the edges are lined up, and use a 1/4″ seam. Press these seams open once sewn.
For the squares with multiple colors, put the two squares together with right sides facing. Sew corner to corner, fold out, and cut off the excess halves of fabric.
For the top points of the arms of the cactus, fold the blue fabric in half, then fold a corner to meet the center line. then having right sides together (green and blue), sew along that line. Fold out along the line, and cut to make the corner of the square. Repeat for the other side.
Sewing The Columns
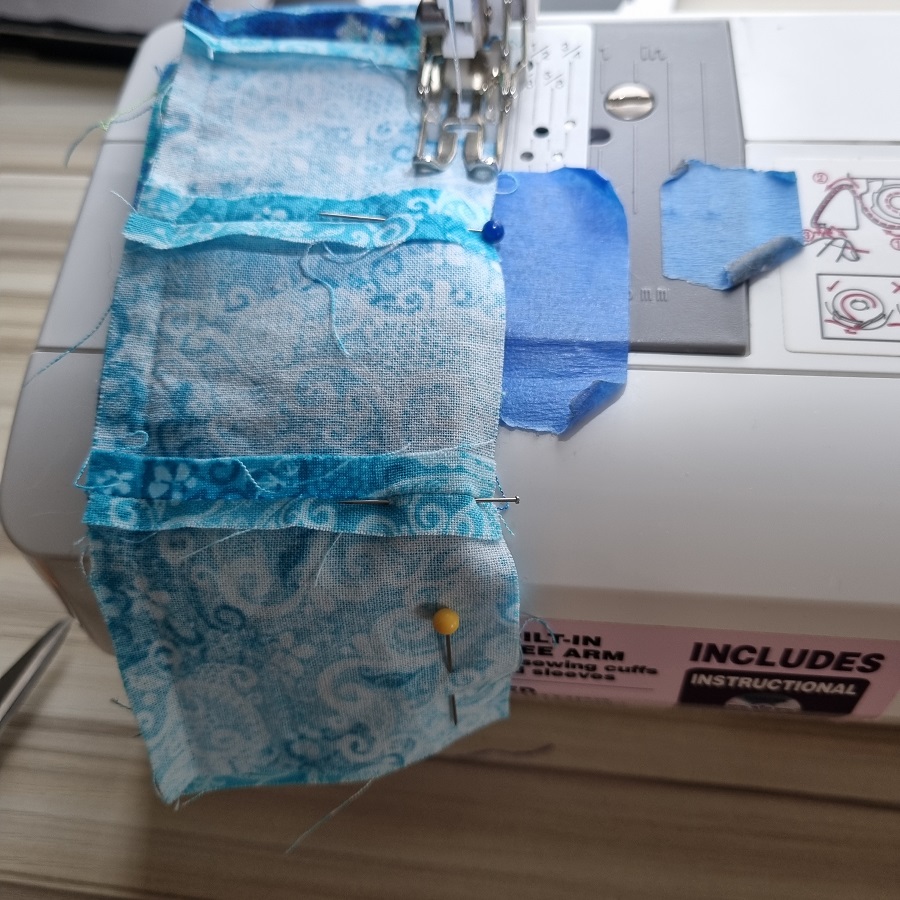
Once the rows have all been sewn together and seams have been pressed open, stitch them together. Make sure to line the seams up. An easy way to do this is to put a pin in the seam lines, and use a walking foot. Make sure to use the same seam size.
Press these seams open and you’re finished with the patchwork!
Make the Cactus Stand Out
This is optional, but if you want to make the cactus stand out more from the fabric pattern, you’ll want to add some stuffing!
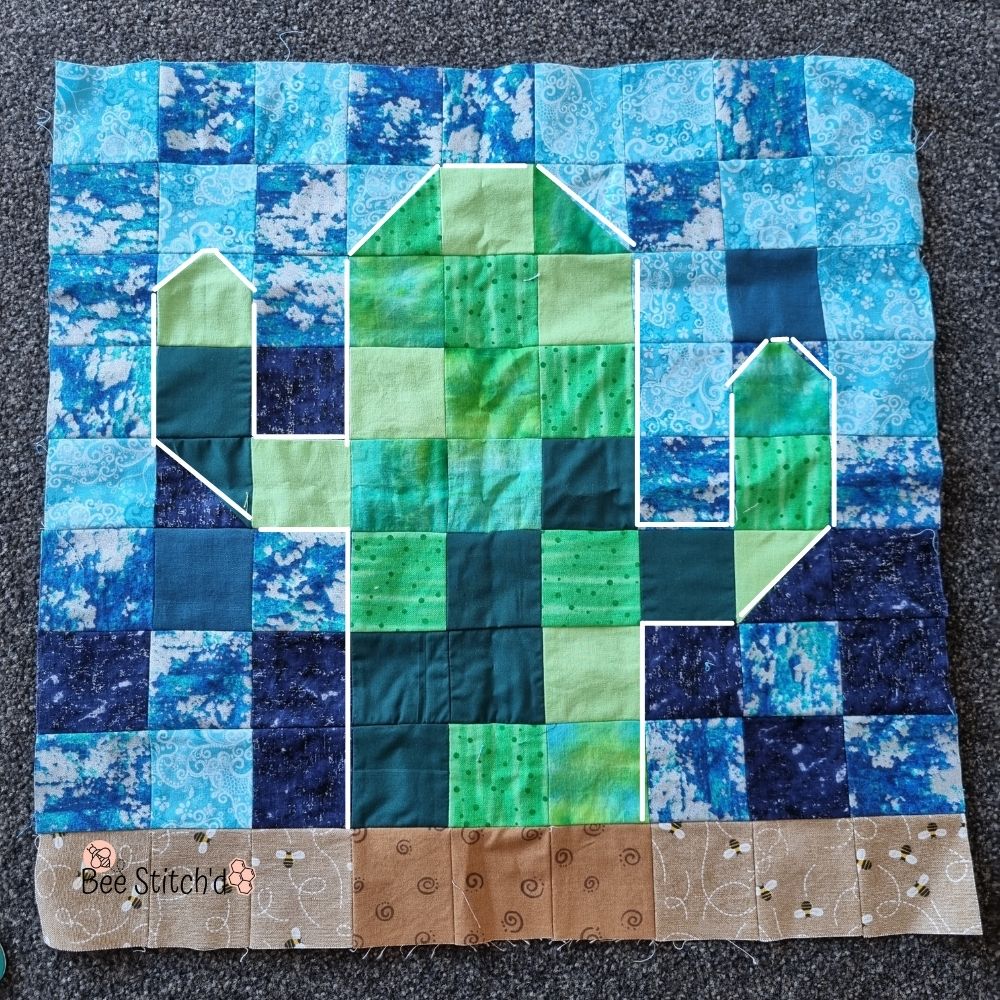
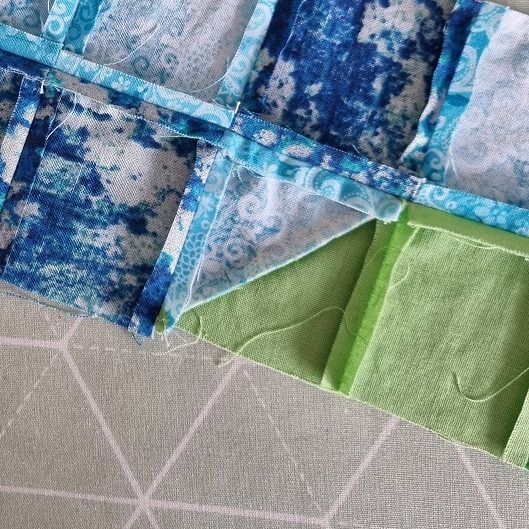
Cut a piece of soft wadding out that matches the size of your squares sewn together. Pin this onto the back, and start sewing around the cactus (using a ditch stitch, or just in the seam of your stitching). Look at the image above to see where to sew first. Gently/lightly stuff with stuffing. It’s easier to fill the arms before you’ve sewn all the way around the bend.
Once you’ve sewn around (leaving the bottom open), stuff the center of the cactus. Then stitch the bottom closed, and the two columns inside the cactus. This all just helps it stand out more!
Finishing The Pillow
Once you’ve done the cactus pillow front, it’s time to finish pillow. Choose your backing fabric, attach the zip, and put in your pillow insert! And now you have a cuddly cactus pillow!
