

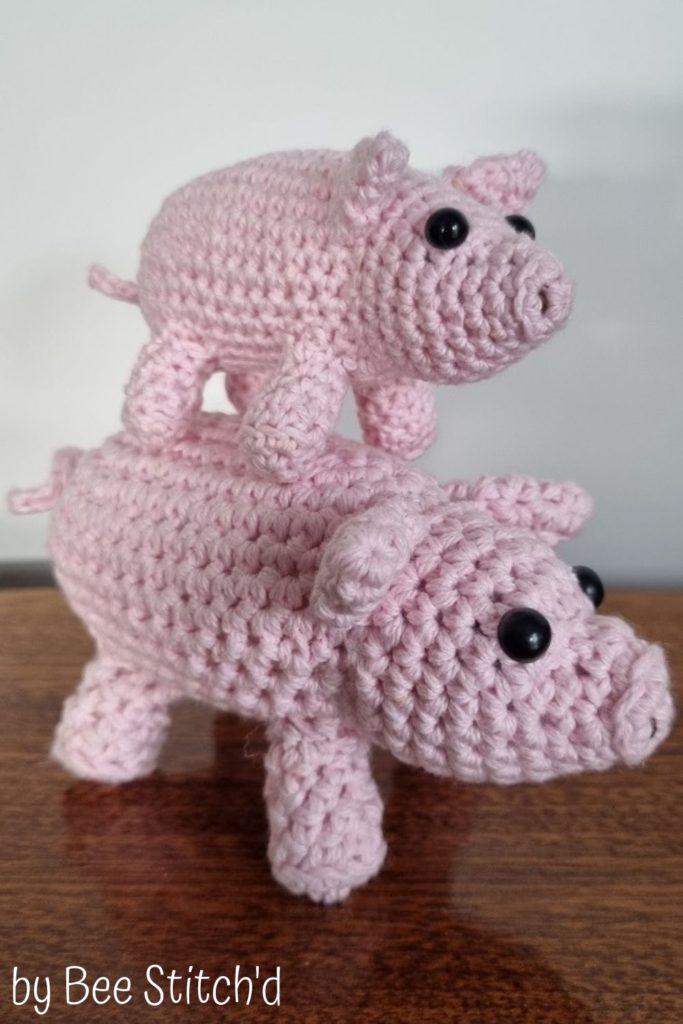
In recent years, pigs have become one of my favorite animals. They’re up at the top of the list alongside cats and elephants. They’re such a smart and happy creature, that I knew I wanted to make one of my own crochet pig!
Pigs have probably jumped the spot of favorite animals in part to following Kitten Lady (IG) and Farm Animal Refuge (IG) on Instagram, so I can get a daily dose of pig cuteness.
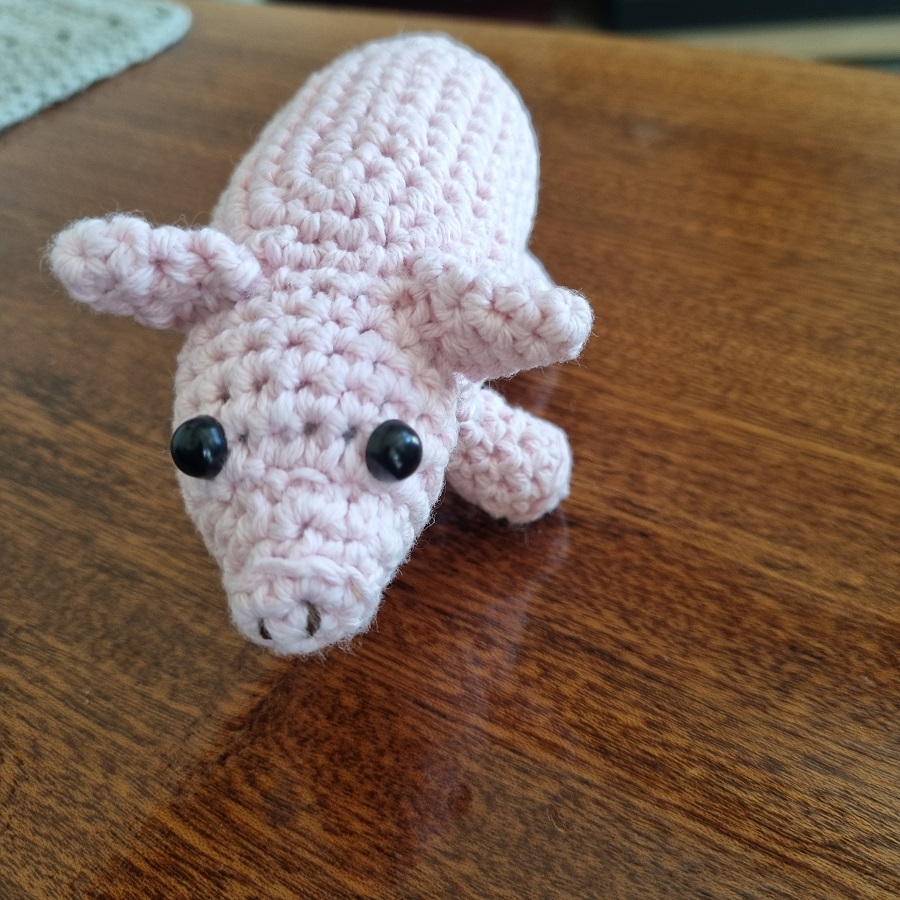
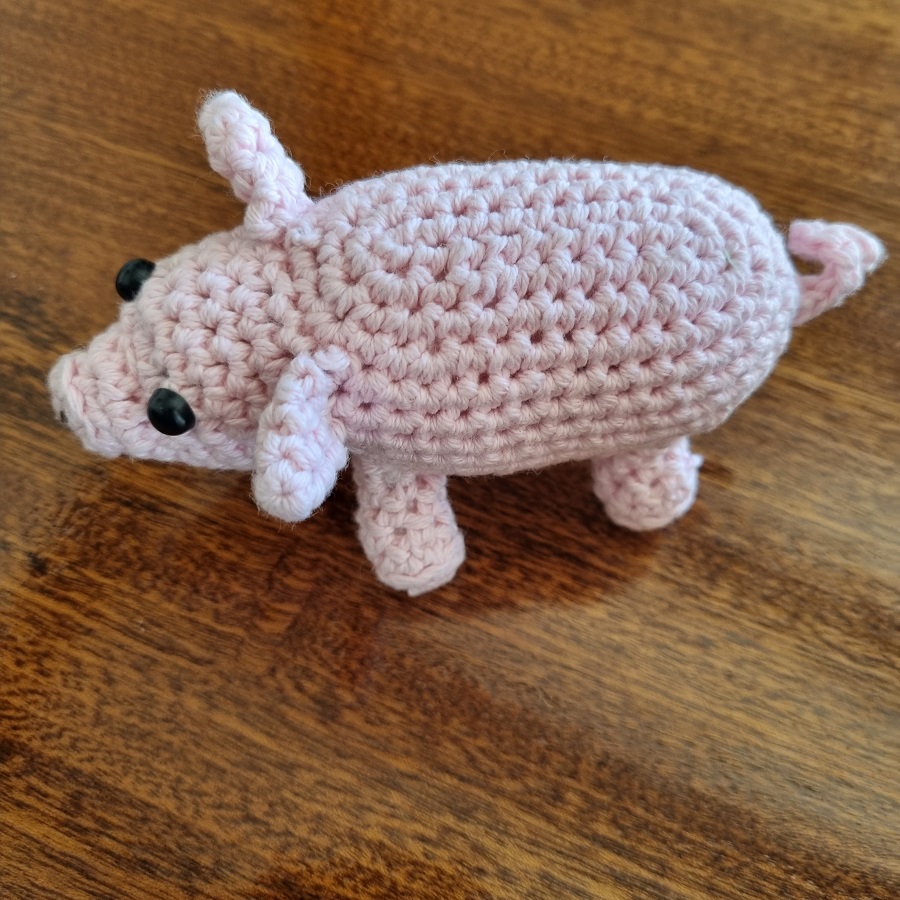
I’ve actually crocheted a pig before as a gift, but it was very round. This one I wanted to make slightly more realistic, with a long body!
*This post may include affiliate links. When you purchase items from these links, we will receive a small commission, at no extra cost to you, to help support this website. Thank you for your support! Read more ->
As always, this pattern starts with the US terminology, and finishes with the UK terminology.
What Makes This Amigurumi Pig Special
I really wanted a realistic crochet pig, and one that wasn’t too big. This is slightly more difficult than just a rounded pig, but is a good stepping stone for people who want to try something slightly more difficult with amigurumi without getting overwhelmed.
It is made in multiple pieces and then sewn up together later!
the instructions and what you’ll need for this pig are done in 8ply, but you can also make it in 4 ply or any weight yarn you want. Just be sure to go down a size in crochet hook than what’s suggested on the ball, and remember the larger the yarn, the bigger the pig will be.
What You’ll Need:
8ply pink-ish yarn, I used 22g cotton (45-50m)
2.75mm hook (or a 3.25mm hook if that’s too tight for you)
Darning needle – read what yarn needles are here!
Stitch marker – read why stitch markers are helpful!
Scissors
Safety Eyes – 8mm size
Brown embroidery thread
Stuffing – About 5g
Gauge: does not matter!
Size
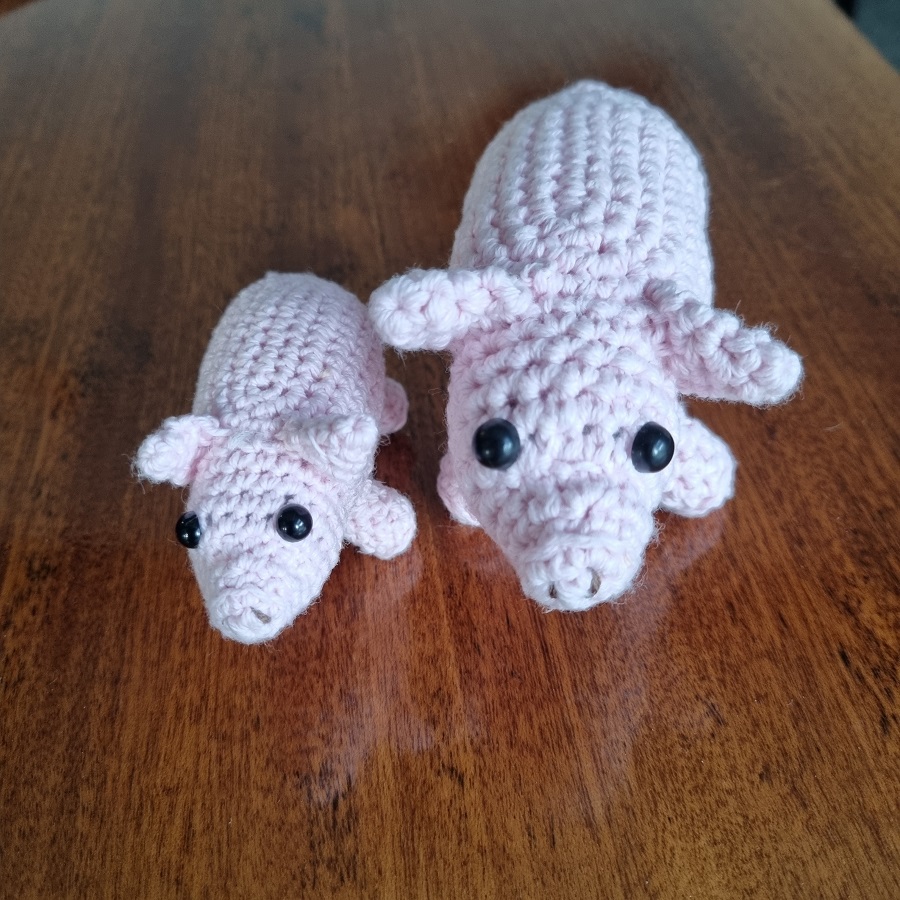
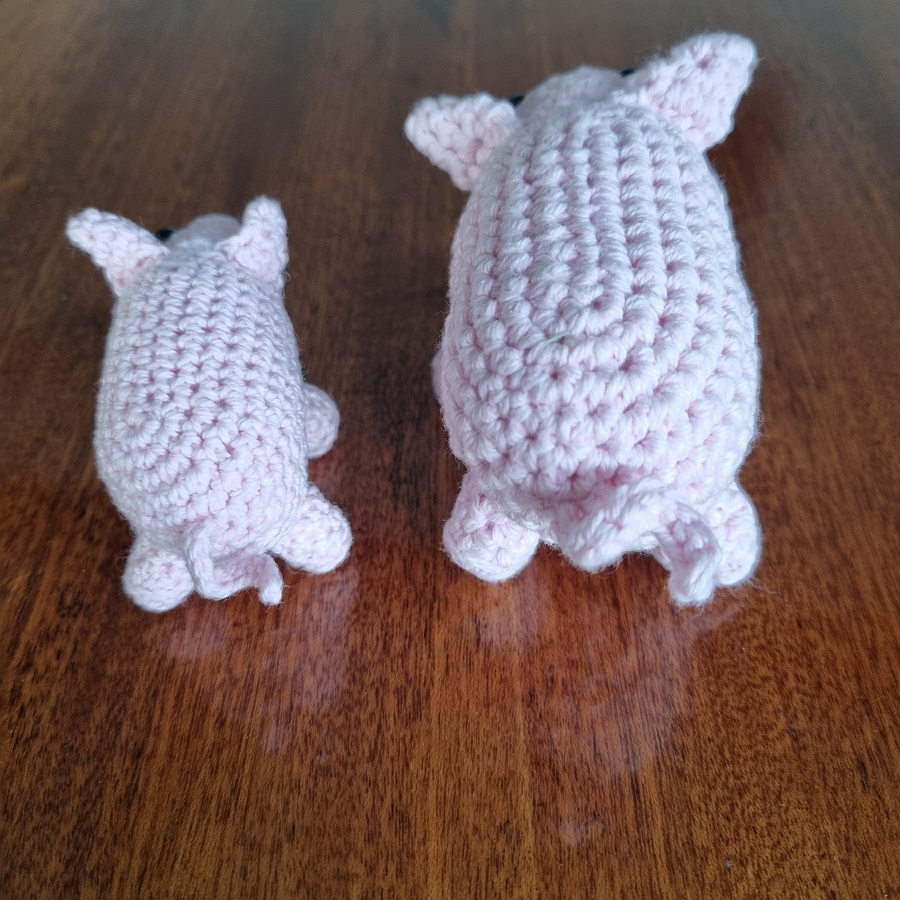
The finished size of this pig in 8ply is 12cm long (5 inches) and about 7cm tall (2.5 inches). [4ply pig is 8.5 cm long (3 1/4inches), and 5cm tall (2 inches)]
(The pictures in this are of two different pigs, using the same yarn. One I held two strands of yarn together for (to make 8ply) and the other is just a single strand (4ply). The instructions remain the same for either!
Crochet Pig US Terms
This pig is made in separate pieces – the body (1), head (1), ears (2), tail (1), front legs (2), back legs (2) and then sewn together! Find instructions for each and then how to put them together! Make sure to use a stitch marker at the end of each row so you remember where each row starts. Each piece works in a continuous round.
Terminology
Sc = single crochet
Ch = chain
Sl = slip stitch
Inc = increase (2 in same space)
Dec = decrease (1 in 2 spaces) – Read how to do an invisible decrease here!
[ ] = repeat the section in brackets the number of times it says, so [inc, sc] 3 times means inc, sc, inc, sc, inc, sc
Magic loop
The Body (1)
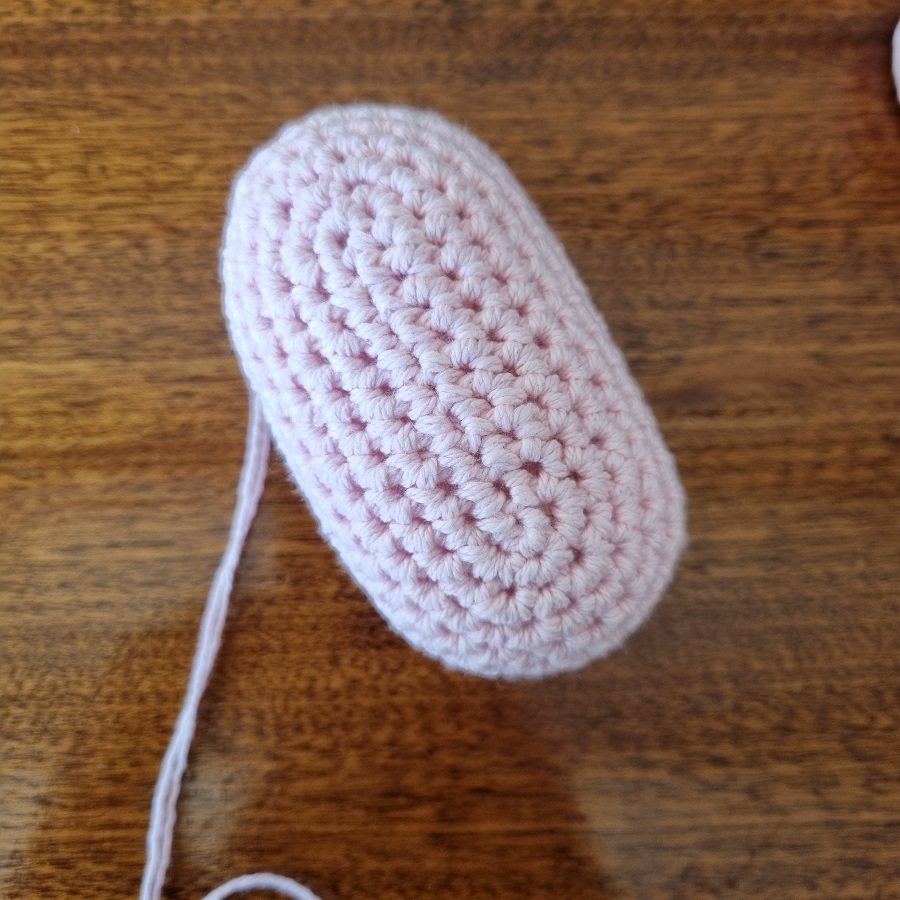
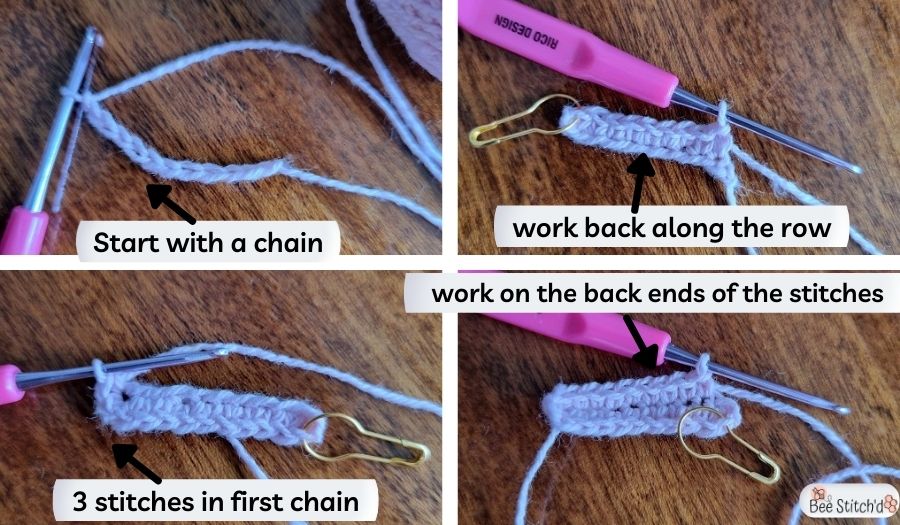
If you’re confused by these instructions, look at the bottom of this section for picture details! Make one of these.
Start by chaining 11. Row 1: In the second stitch from your hook, sc. Sc in the next 8 stitches. In the first stitch of your chain, 3sc, working your way to the other side (back) of the chain. Sc in the next 8 stitches along the back. Then 2sc in the last stitch (this will make 3sc in this stitch, with the first one worked at the beginning). (22)
Row 2: Inc, 8sc, 3inc, 8sc, 2inc (28)
Row 3: Inc, 9sc, [inc, sc] 3 times, 8sc, [inc, sc] 2 times (34)
Row 4: Inc, 10sc, [inc, 2sc] 3 times, 8sc, [inc, 2sc] 2 times (40)
Rows 5-7: sc around (40)
Row 8: Dec, 10sc, [dec, 2sc] 3 times, 8sc, [dec, 2sc] 2 times (34)
Rows 9 & 10: sc around (34)
Row 11: Dec, 9sc, [dec, sc] 3 times, 8sc, [dec, sc] 2 times (28)
Row 12: Dec, 8sc, [dec] 3 times, 8sc, [dec] 2 times (22)
Fasten off and leave a long tail for sewing. Don’t sew closed yet!

The Head (1)
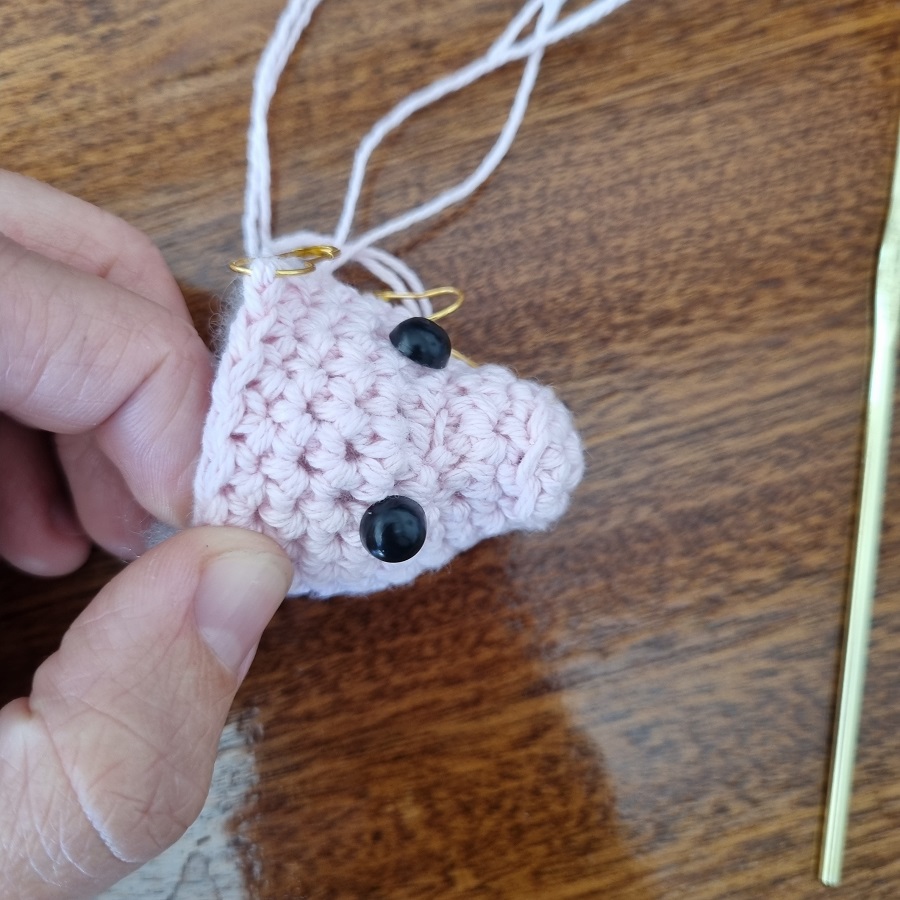
The head is made in a circle, starting with the snout and then working to the head part. This will be attached to the body. Keep working in a continuous round, and use a stitch marker to mark your place. Make 1
Row 1: In a magic loop, 4sc.
Row 2: Inc around (8)
Row 3: In back loops only, sc around (8)
Row 4: [sc, inc] around (12)
Row 5: 6sc, 6sl (loosely) (12)
Row 6: [sc, inc] 3 times, 6sl (in the last row’s sl) (15)
Row 7: [2sc, inc] around (20)
Rows 8-10: sc around (20)
Fasten off, leaving a long tail for fastening on.
The Legs (4)
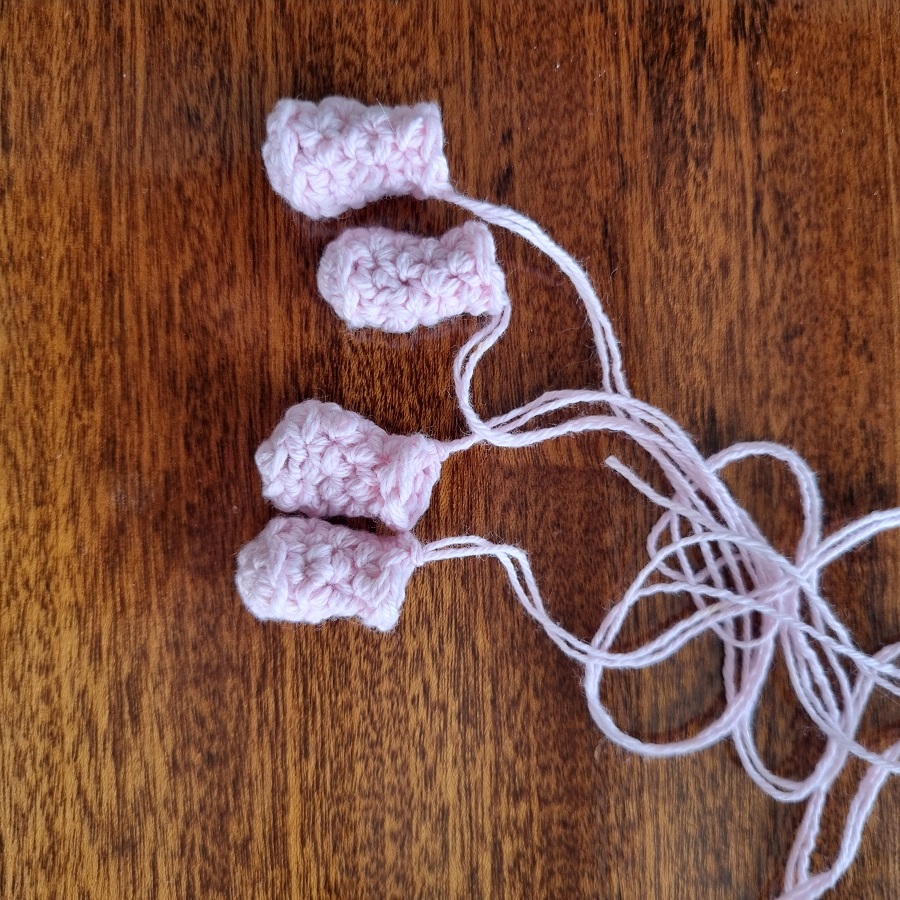
The two front legs are slightly longer than the back legs. This is just to keep it from looking like they’re bowing in the back! The instructions will be written the same for the beginning, there’ll just be a spot for where to stop on the back legs. Make 4 legs in total.
Row 1: In a magic loop, 4sc.
Row 2: Inc around (8)
Row 3: Sc in back loops only (8)
Row 4: [2sc, dec] around (6)
Rows 5 & 6: Sc around (6)
Stop here for 2 of the legs (the back legs) Fasten off and leave a tail for sewing.
For the front (remaining 2 legs)
Row 7: sc around (6)
Fasten off and leave a tail for sewing.
The Ears (2)
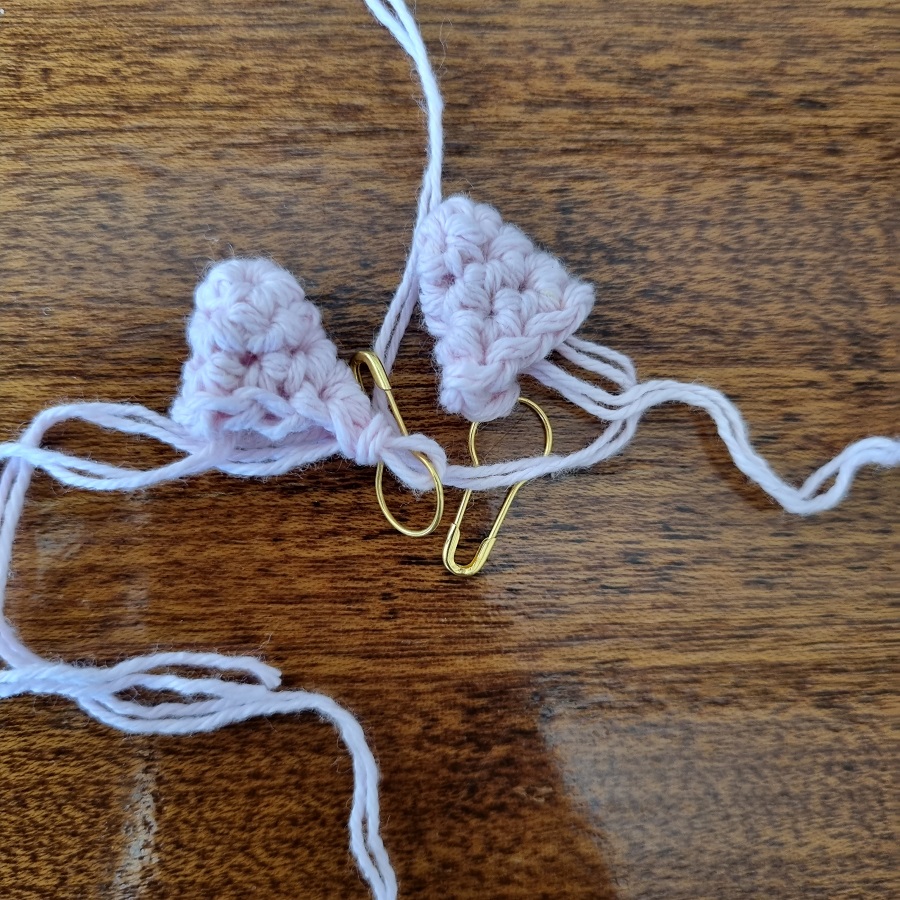
Make 2 ears. These are worked in a circle, but will look flat and triangular when done!
Row 1: In a magic loop, 4sc.
Row 2: Sc around (4)
Row 3: [sc, inc] around (6)
Row 4: [2sc, inc] around (8)
Fasten off, leaving a tail for fastening on.
The Tail (1)
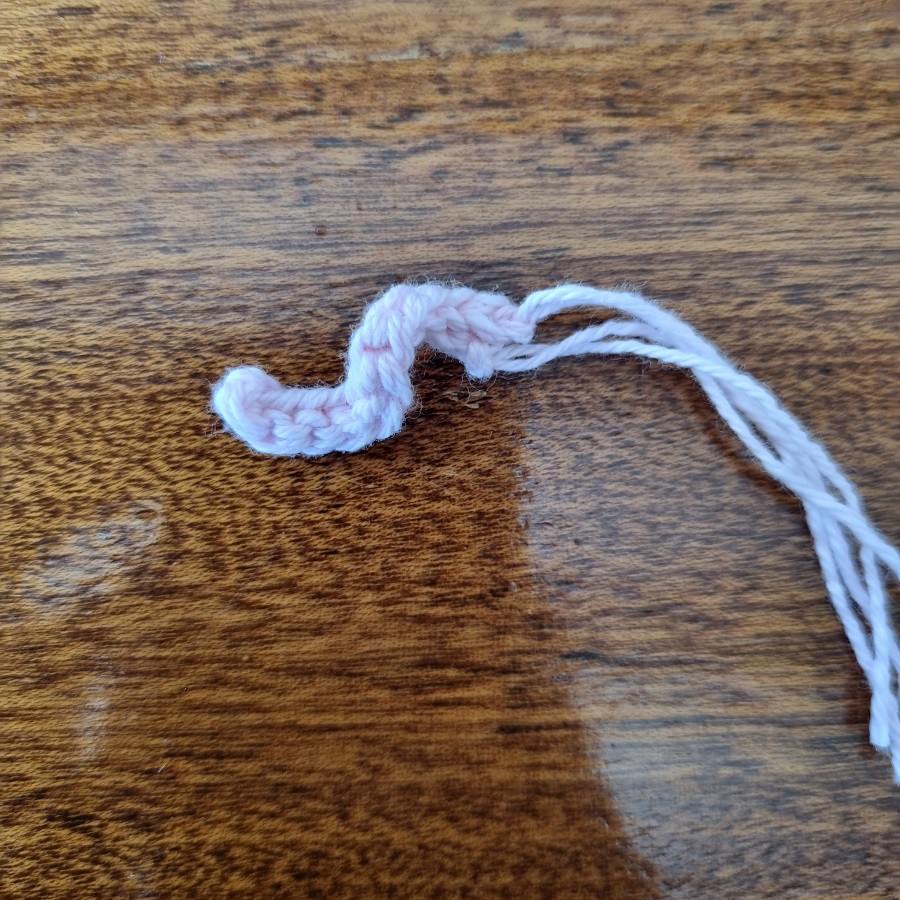
The tail is fairly simple to make! You do need to identify the middle stitch of a chain, as this is what you’ll be working in.

Chain 11. In the second stitch from the hook, sl in the middle loop of the stitch. Repeat until the end of the chain (10). Fasten off leaving a tail for fastening on.
Kind of curl this with your fingers.
Putting the Pig Together
Now that you have all of the pieces, it’s time to put it all together! I like to start by stuffing all of the pieces, to make it easier to figure out where things go and how they’ll look! DO NOT stuff the ears. But stuff the legs, head, and body.
Tip: If you’re having a hard time getting the stuffing into the legs, use the back of a crochet hook to get the stuffing in.
Don’t forget to add in a small crochet heart to bring your amigurumi pig to life!
Eyes: Once you’ve stuffed all of these pieces, find a good placement for the eyes. Place them above the sl section of the face, one row up from the slip stitches, with about 3-4 stitches between the eyes (so the eyes are 5-6 stitches apart). Once you’ve got them in the ideal spot, remove the stuffing to easily add the backs of the eyes.
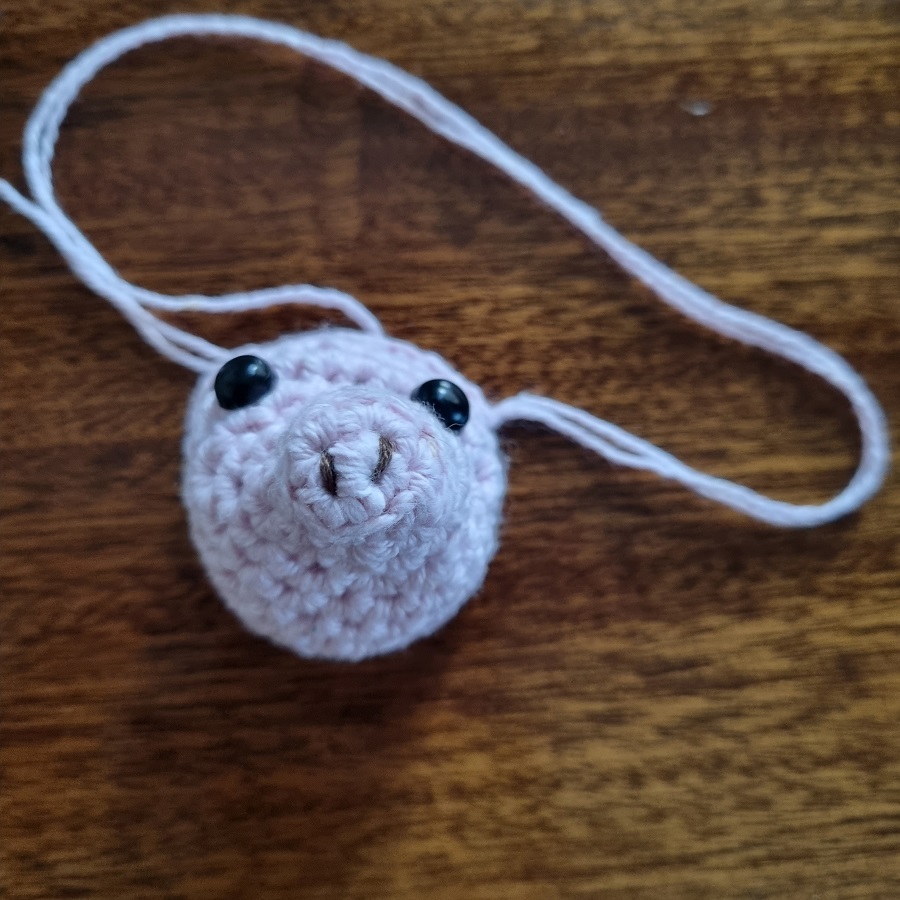
Nostrils: Using about 2 strands of brown embroidery thread, make the 2 nostrils in the flat section of the nose. Basically, the magic loop starting stitches will be between the nostrils. This is much easier to tie off from the inside.
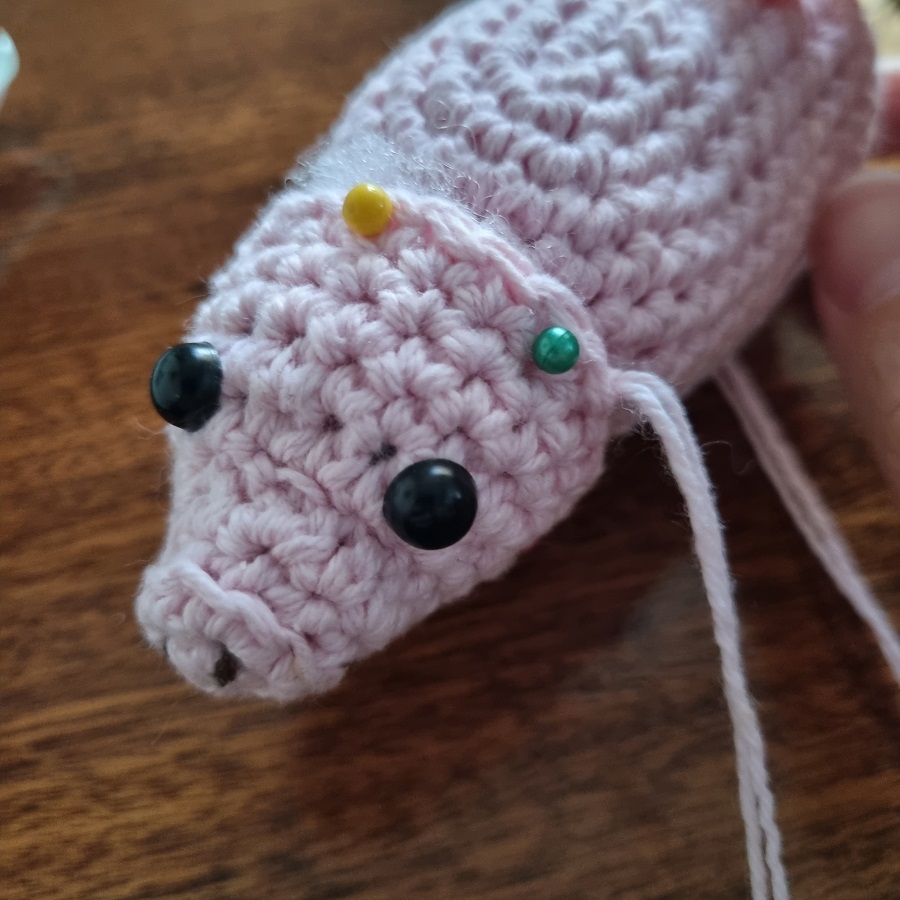
Head & Tail: Now it’s time to attach the head and tail to the body! Using pins makes this really helpful. Attach the head on one narrow side of the body, and the tail on the other. Have the top of the head coming flush with the top of the body. Make sure the eyes are at the top and the head isn’t angled. Now sew these in place! The tail is just above the center (height wise).
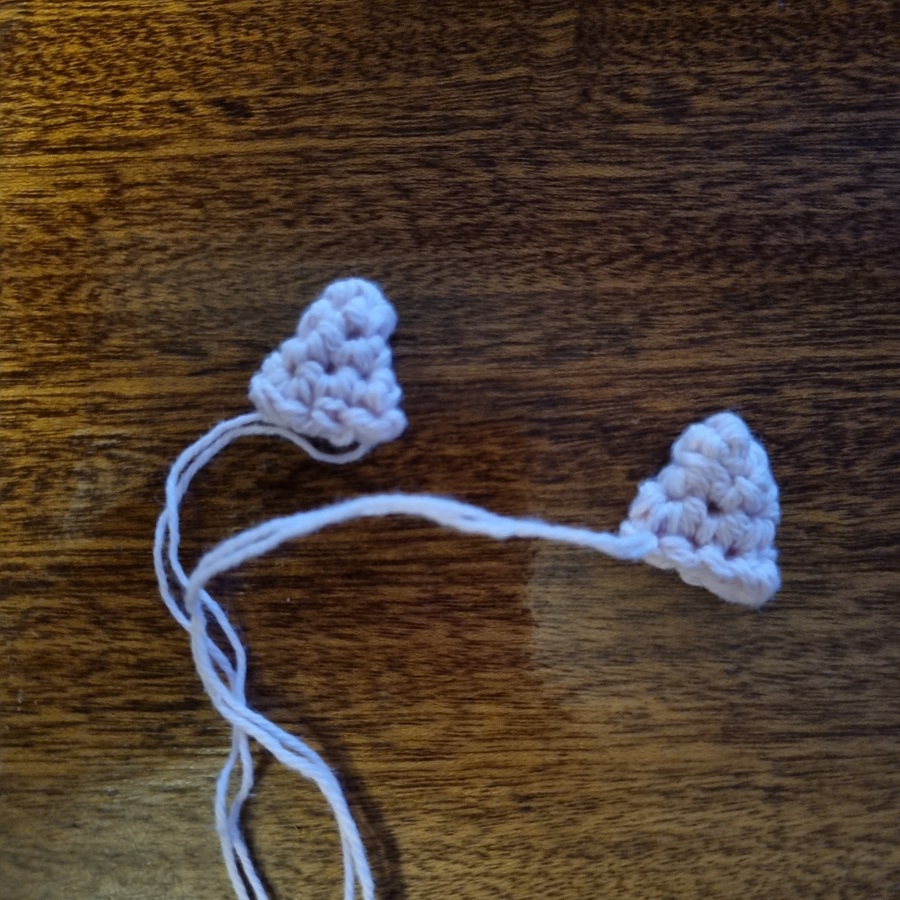
Ears: Fold the ears in half so they’re flat, and stitch across the bottom. Now, pin the ears onto the body, right where the head and body meet. Try to have the eyes centered with the ears. Sew in place, and fasten off.
Body: Once you have the head, tail, and ears attached to the body, sew closed the bottom of the body, making sure the rows are even.
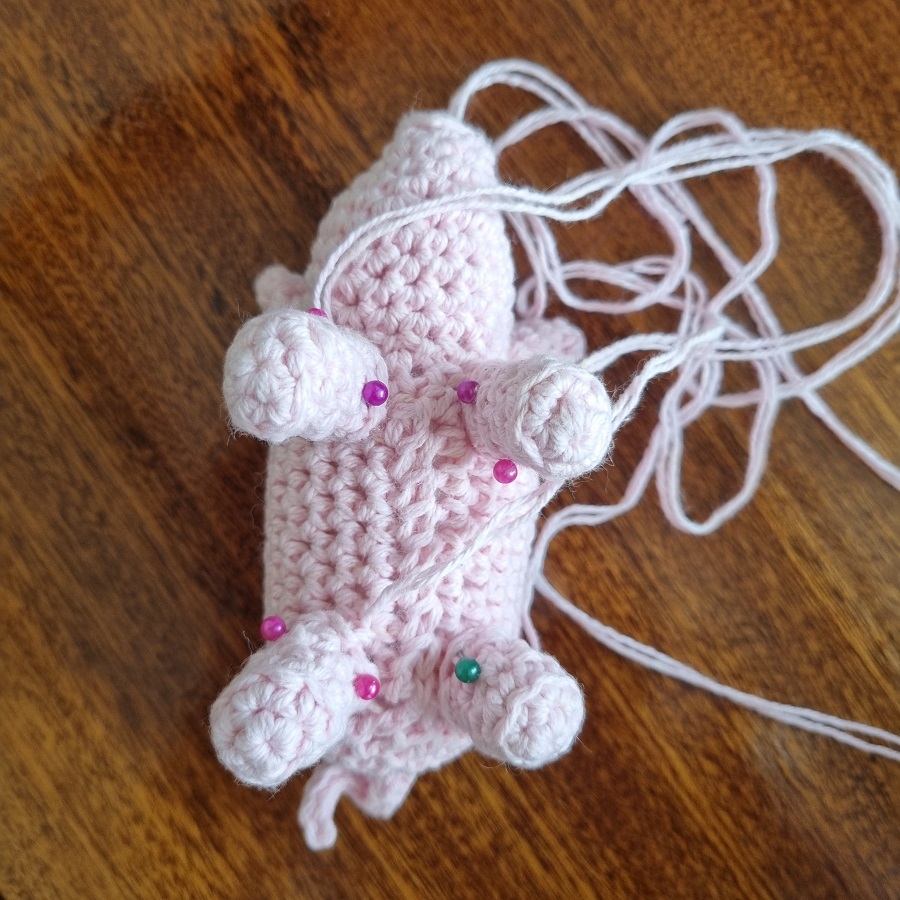
Legs: Finally, attach the legs. The longer two go in the front, and the smaller two in the back. The front legs go right behind the stitch line where the head was added on, and the back legs go a few stitches away from where the back starts to curve up. Pin these in place, and make sure that your pig stands upright on all 4 legs evenly without wobbling. Move the legs around some if they’re not sitting correctly. Then sew them in place.
If you have any yarn tails left, fasten them off and hide them away! Now you’ve got a finished amigurumi pig!
Crochet Pig UK Terms
Now we’re at the UK Terminology for this pig pattern! If you’re confused about any of the instructions, just go up to the US terminology section to look at images. And once you’re done making the pieces, scroll up to look for how to put the pig together.
This pig is made in separate pieces – the body (1), head (1), ears (2), tail (1), front legs (2), back legs (2) and then sewn together! Find instructions for each and then how to put them together! Make sure to use a stitch marker at the end of each row so you remember where each row starts. Each piece works in a continuous round.
Terminology
Dc = single crochet
Ch = chain
Sl = slip stitch
Inc = increase (2 in same space)
Dec = decrease (1 in 2 spaces) – Read how to do an invisible decrease here!
[ ] = repeat the section in brackets the number of times it says, so [inc, dc] 3 times means inc, dc, inc, dc, inc, dc
Magic loop
The Body (1)
If you’re confused by these instructions, look at the bottom of this section in the US terminology for picture details! Make one of these.
Start by chaining 11. Row 1: In the second stitch from your hook, dc. Dc in the next 8 stitches. In the first stitch of your chain, 3dc, working your way to the other side (back) of the chain. Dc in the next 8 stitches along the back. Then 2dc in the last stitch (this will make 3dc in this stitch, with the first one worked at the beginning). (22)
Row 2: Inc, 8dc, 3inc, 8dc, 2inc (28)
Row 3: Inc, 9dc, [inc, dc] 3 times, 8dc, [inc, dc] 2 times (34)
Row 4: Inc, 10dc, [inc, 2dc] 3 times, 8dc, [inc, 2dc] 2 times (40)
Rows 5-7: dc around (40)
Row 8: Dec, 10dc, [dec, 2dc] 3 times, 8dc, [dec, 2dc] 2 times (34)
Rows 9 & 10: dc around (34)
Row 11: Dec, 9dc, [dec, dc] 3 times, 8dc, [dec, dc] 2 times (28)
Row 12: Dec, 8dc, [dec] 3 times, 8dc, [dec] 2 times (22)
Fasten off and leave a long tail for sewing. Don’t sew closed yet!
The Head (1)
The head is made in a circle, starting with the snout and then working to the head part. This will be attached to the body. Keep working in a continuous round, and use a stitch marker to mark your place. Make 1
Row 1: In a magic loop, 4dc.
Row 2: Inc around (8)
Row 3: In back loops only, dc around (8)
Row 4: [dc, inc] around (12)
Row 5: 6dc, 6sl (loosely) (12)
Row 6: [dc, inc] 3 times, 6sl (in the last row’s sl) (15)
Row 7: [2dc, inc] around (20)
Rows 8-10: dc around (20)
Fasten off, leaving a long tail for fastening on.
The Legs (4)
The two front legs are slightly longer than the back legs. This is just to keep it from looking like they’re bowing in the back! The instructions will be written the same for the beginning, there’ll just be a spot for where to stop on the back legs. Make 4 legs in total.
Row 1: In a magic loop, 4dc.
Row 2: Inc around (8)
Row 3: Dc in back loops only (8)
Row 4: [2dc, dec] around (6)
Rows 5 & 6: Dc around (6)
Stop here for 2 of the legs (the back legs) Fasten off and leave a tail for sewing.
For the front (remaining 2 legs)
Row 7: dc around (6)
Fasten off and leave a tail for sewing.
The Ears (2)
Make 2 ears. These are worked in a circle, but will look flat and triangular when done!
Row 1: In a magic loop, 4dc.
Row 2: Dc around (4)
Row 3: [dc, inc] around (6)
Row 4: [2dc, inc] around (8)
Fasten off, leaving a tail for fastening on.
The Tail (1)
The tail is fairly simple to make! You do need to identify the middle stitch of a chain, as this is what you’ll be working in.
Chain 11. In the second stitch from the hook, sl in the middle loop of the stitch. Repeat until the end of the chain (10). Fasten off leaving a tail for fastening on.
Kind of curl this with your fingers.
—Look up between the US and UK terminology for how to put your pig together!
Now you’ve got yourself a cute little crochet pig friend! I hope you had fun and enjoyed this pattern!
