

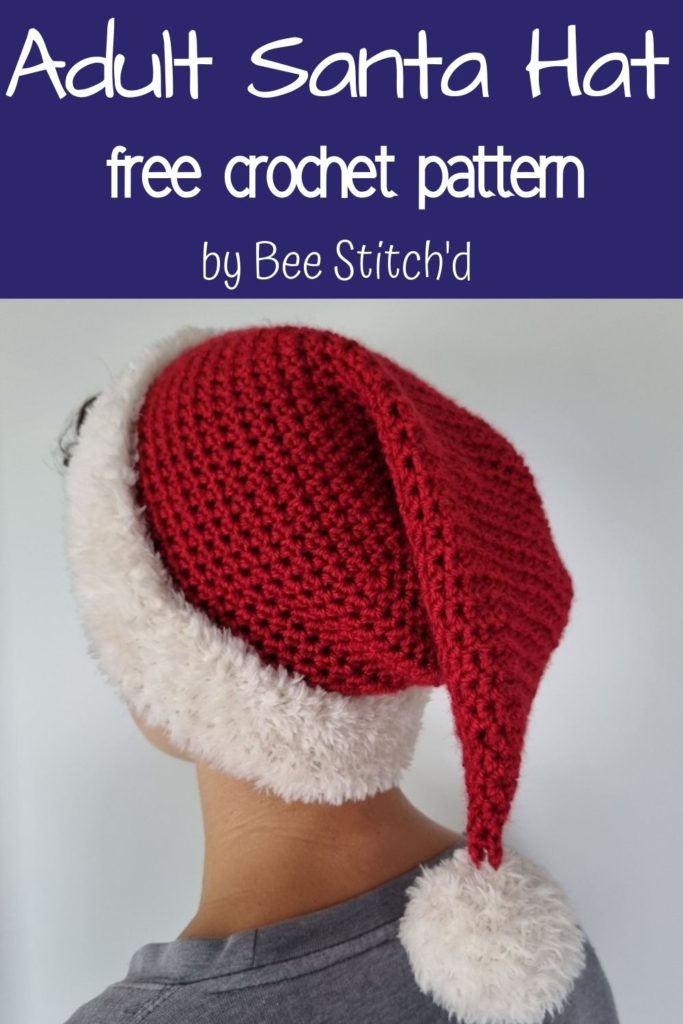
I was making mini santa hats for my amigurumi animals, and didn’t want to feel left out of the party, so I’ve decided to make an adult crocheted santa hat too!
I love wearing santa hats during December, but always have a hard time finding one that fits me. Either it’s too tight, too loose, or is just really scratchy from where the fur is attached to the red top. So why not make my own that has not uncomfortable joins and that fits me perfectly?
The way this hat is made is very similar to the mini’s just with a hdc instead of sc stitch, and a larger size yarn (I’m using 10ply). Find the mini crochet santa hat here! Using this stitch makes it slightly more breathable, and creates the length you want in a santa hat.
*This post may include affiliate links. When you purchase items from these links, we will receive a small commission, at no extra cost to you, to help support this website. Thank you for your support! Read more ->
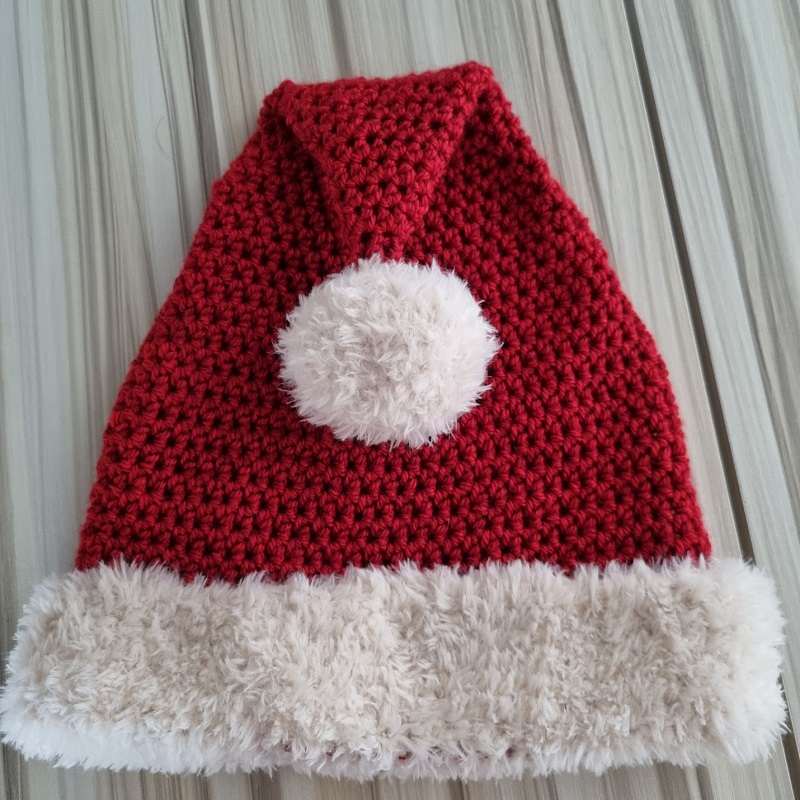
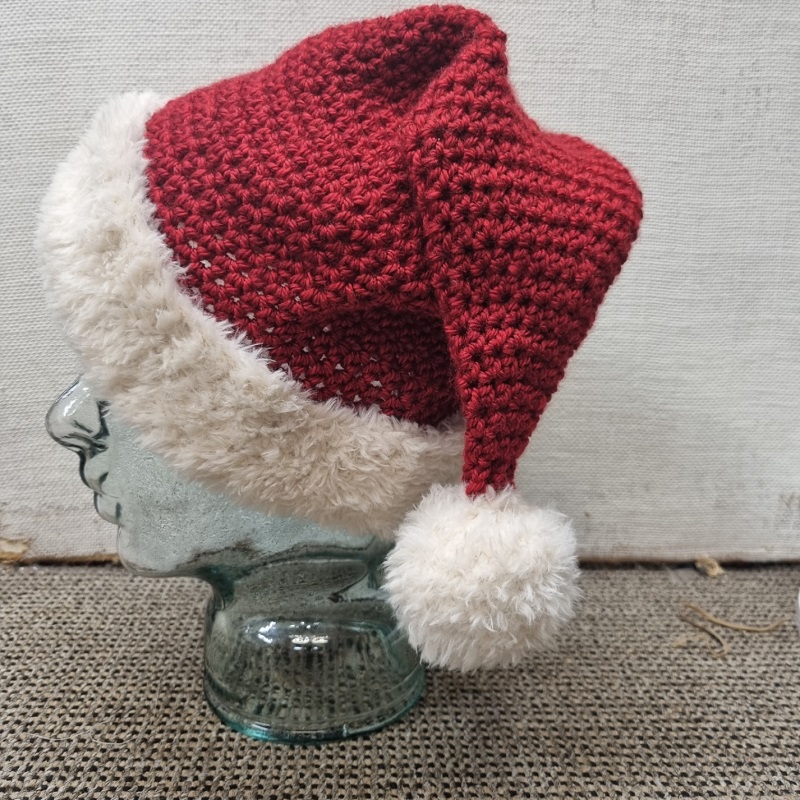
It’s a nice and floppy hat, so it looks just like a typical santa hat.
As always, this pattern starts with US terminology; scroll to the bottom for UK.
Save this pattern to your Ravelry notebook!
What You’ll Need:
Red 10ply (aran) yarn and a faux fur yarn in white or cream (A good option is Lion Brand Go for Faux)
What I’m using: 90g (146m) Lion Brand Heartland, and 39g (60m) Peter Pan Precious Chunky
6mm hook,
5mm hook (for the pompom)
Darning needle – read what yarn needles are here!
Stitch marker – read why stitch markers are helpful!
Scissors
Stuffing – for filling the pompom on top, 3-5g
Gauge: 14 stiches and 10 rows in 4 inches (10cm)
Size
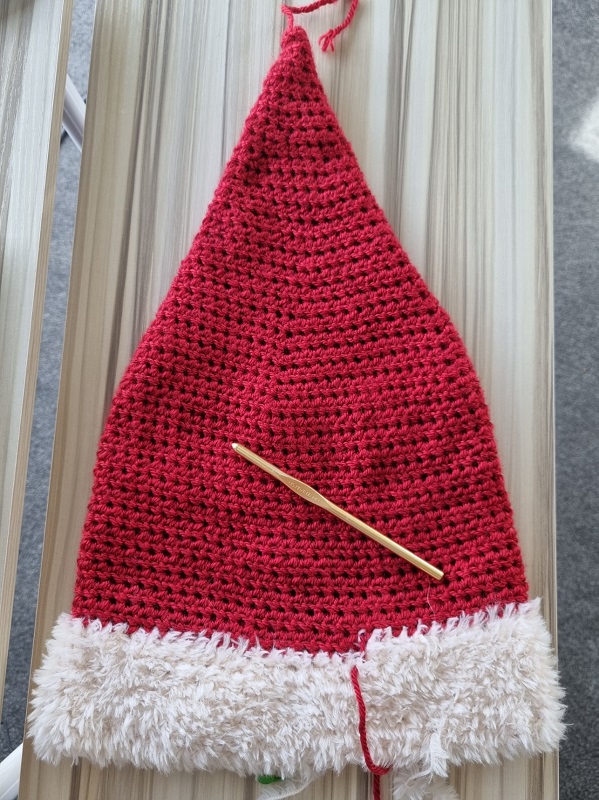
This pattern is really easy to adjust to head size, this pattern specifically fits a medium sized adult head, fitting between a 21.5-24 inch (55-61cm) head. The diameter of the hat is 12inches (31cm). The height of the main part (without the pompom or white folded up is 15 inches (38cm).
To adjust the size smaller, just stop earlier in the increases and continue down to the rows you just work a single stitch in each across. To make the size larger, add more increases.
To make the hat longer, just continue the rows you do a single stitch in each across until you’ve got the desired length, or when the pattern stops having the single stitch in each across and just continues increasing each row, add a row between each like the beginning of the pattern.
Adult Crocheted Santa Hat Pattern US Terms
This is a really simple santa hat to make, where the only thing that has to get attached at the end is the pompom!
Terminology
Sc = single crochet
Hdc = half double crochet
Ch = chain
Sl = slip stitch
Inc = increase (2 in same space)
Dec = decrease (1 stitch over 2 spaces)
Pattern
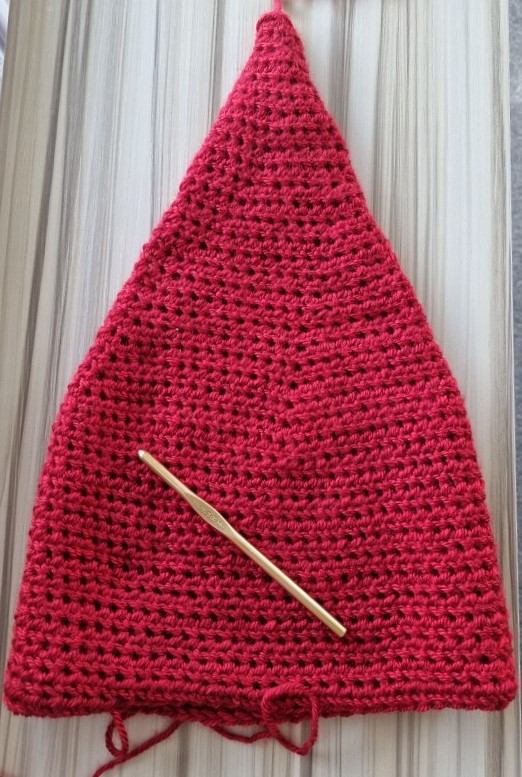
Work continuously in the round, and move a stitch marker between each row. The first row is sc, then the rest are hdc.
In red with the 6mm hook:
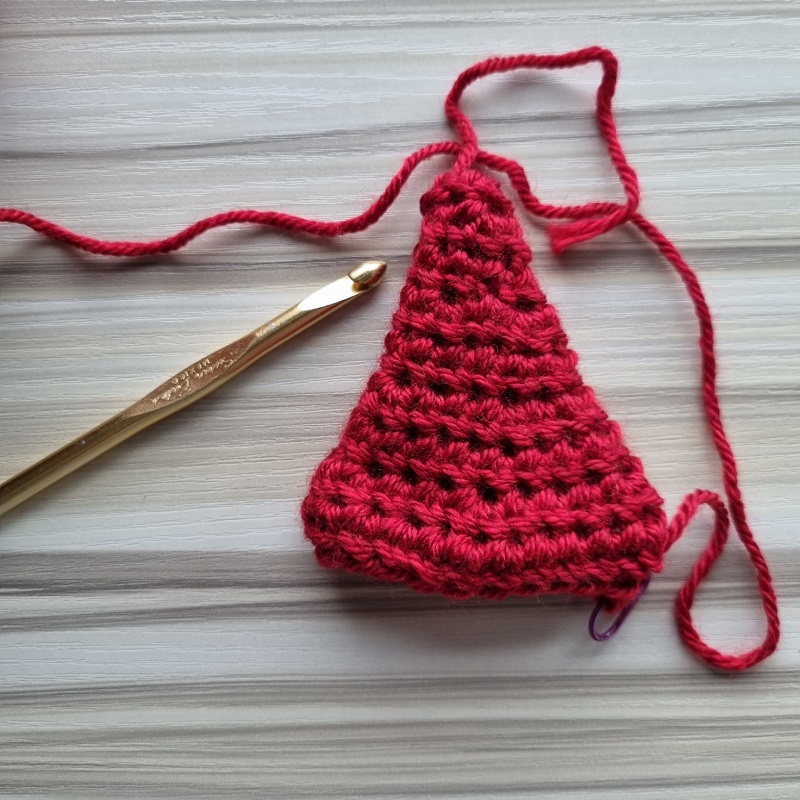
Either start in a magic ring and 4sc in the magic loop. Or, ch2 and 4sc in the second chain from hook.

Row 1: hdc around (4)
Row 2: inc around (8)
Row 3: hdc around (8)
Row 4: (hdc, inc) around (12)
Row 5: hdc around (12)
Row 6: (2dhc, inc) around (16)
Row 7: hdc around (16)
Row 8: (3hdc, inc) around (20)
Row 9: hdc around (20)
Row 10: (4hdc, inc) around (24)
Row 11: hdc around (24)
Row 12: (5hdc, inc) around (28)
Row 13: hdc around (28)
Row 14: (6hdc, inc) around (32)
Row 15: hdc around (32)
Row 16: (7hdc, inc) around (36)
Row 17: hdc around (36)
Row 18: (8hdc, inc) around (40)
Row 19: hdc around (40)
Row 20: (9hdc, inc) around (44)
Row 21: (10hdc, inc) around (48)
Row 22: (11hdc, inc) around (52)
Row 23: (12hdc, inc) around (56)
Row 24: (13 hdc, inc) around (60)
Row 25: (14 hdc, inc) around (64)
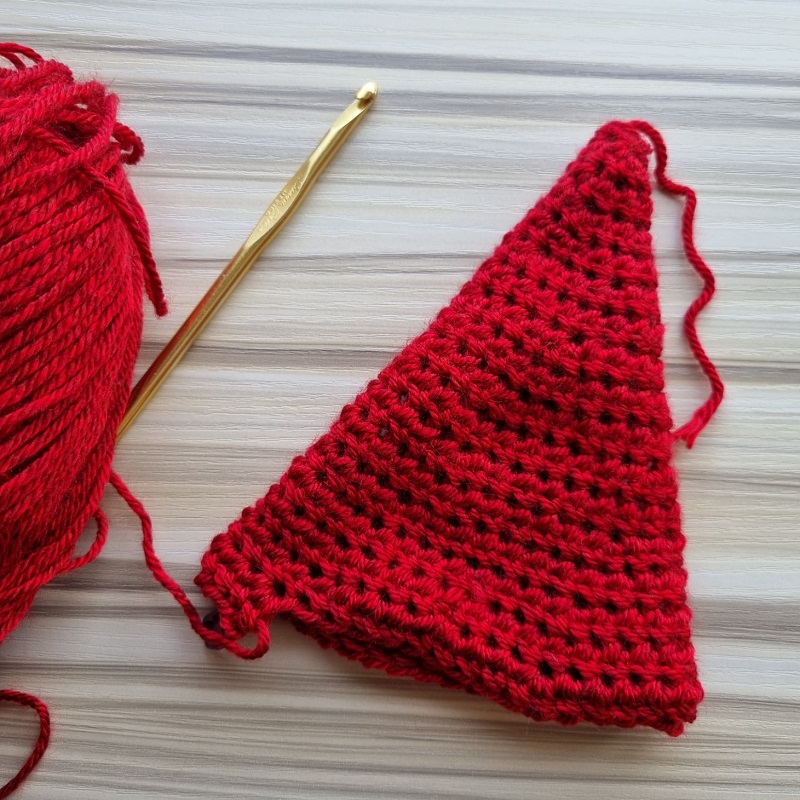
Rows 26-38: hdc around (64)
Switch to Faux Fur:
Rows 39-46: hdc around (64)
Fasten off, and weave in ends.
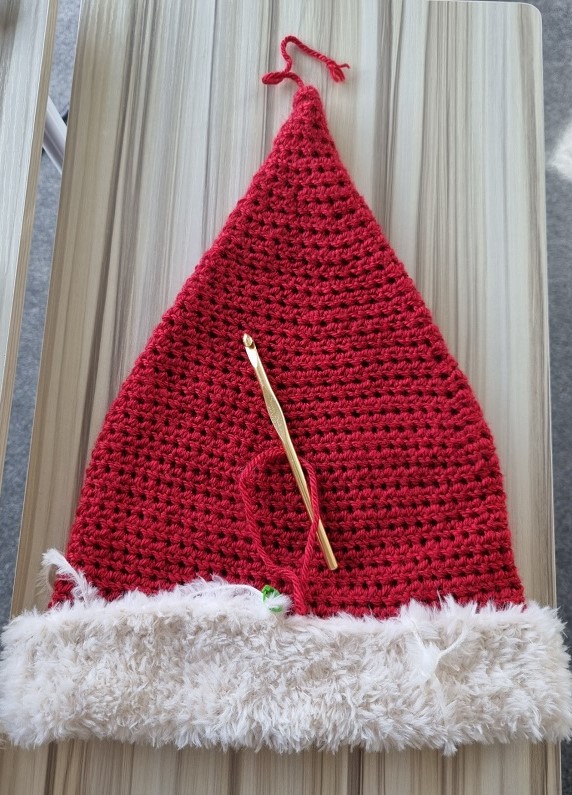
Tip: If you’re having a hard time finding the stitches in the faux fur yarn, try to feel for it. You’ll be able to feel where the gap is. Or look for the main strand the yarn is made out of. Don’t do what I usually do and just stress through the row while counting and just hope that you’ve done the right amount!
Pom Pom
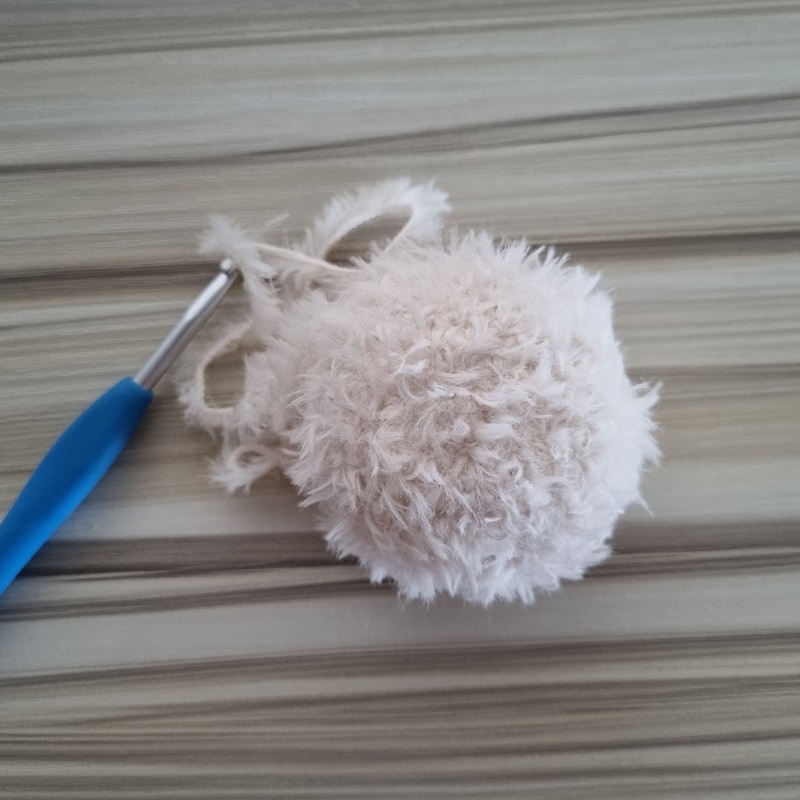
Use the 5mm hook for this.
Learn how to do an invisible decrease here
With the faux fur yarn, either 6sc in a magic loop, or ch 2 and in the second loop from the hook, 6sc.
The yarn I’m working with is really difficult to pull the faux fur in a magic ring, so I’m doing the ch2 method.
Row 1: inc around (12)
Row 2: (sc, inc) around (18)
Row 3: (2sc, inc) around (24)
Row 4: (3sc, inc) around (30)
Rows 5-8: sc around (30)
Row 9: (3sc, dec) around (24)
Row 10: (2sc, dec) around (18)
Row 11: (sc, dec) around (12)
Stuff the inside of your pom pom now.
Row 10: (dec) around (6)
Tie off and leave a tail about 6 inches long. Weave the tail around the opening and pull tight. Tie off.
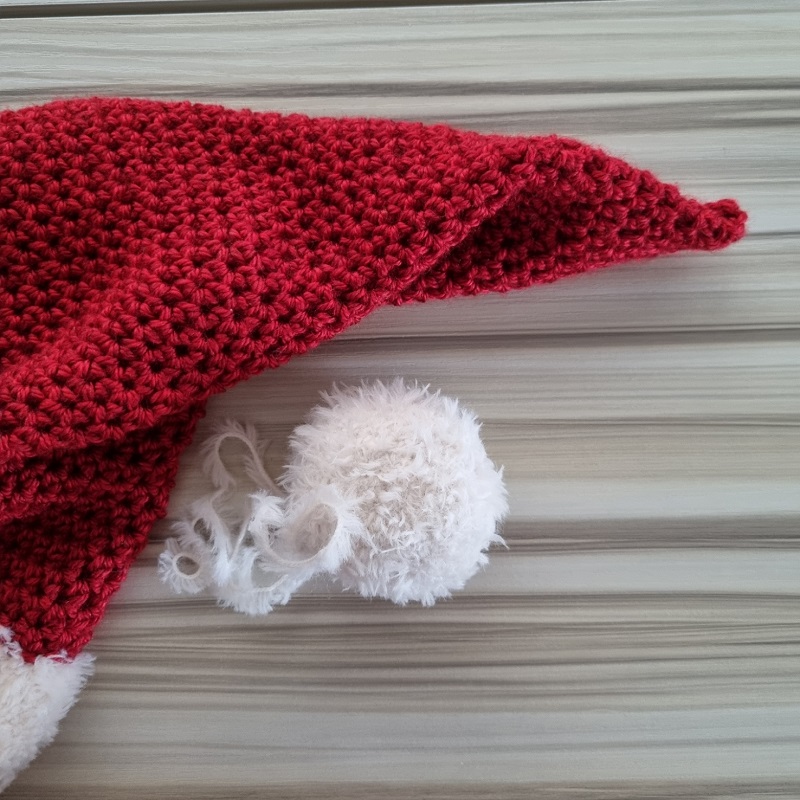
Put The Hat Together
The only thing to put together with this hat is the pompom on top!
With the tail of the faux fur yarn, go back and forth between the top of the hat and the bottom of the pompom a few times, until it’s on sturdily. Tie off, and weave in the end.
Now you have a santa hat!
Save this pattern to your Ravelry notebook!
Adult Crocheted Santa Hat Pattern UK Terms
This is a really simple santa hat to make, where the only thing that has to get attached at the end is the pompom!
Look at the pattern instructions above for images.
Terminology
Dc = double crochet
Htr = half treble crochet
Ch = chain
Sl = slip stitch
Inc = increase (2 in same space)
Dec = decrease (1 stitch over 2 spaces)
Pattern

Work continuously in the round, and move a stitch marker between each row. The first row is sc, then the rest are hdc.
In red with the 6mm hook:
Either start in a magic ring and 4dc in the magic loop. Or, ch2 and 4dc in the second chain from hook.
Row 1: htr around (4)
Row 2: inc around (8)
Row 3: htr around (8)
Row 4: (htr, inc) around (12)
Row 5: htr around (12)
Row 6: (2htr, inc) around (16)
Row 7: htr around (16)
Row 8: (3htr, inc) around (20)
Row 9: htr around (20)
Row 10: (4htr, inc) around (24)
Row 11: htr around (24)
Row 12: (5htr, inc) around (28)
Row 13: htr around (28)
Row 14: (6htr, inc) around (32)
Row 15: htr around (32)
Row 16: (7htr, inc) around (36)
Row 17: htr around (36)
Row 18: (8htr, inc) around (40)
Row 19: htr around (40)
Row 20: (9htr, inc) around (44)
Row 21: (10htr, inc) around (48)
Row 22: (11htr, inc) around (52)
Row 23: (12htr, inc) around (56)
Row 24: (13 htr, inc) around (60)
Row 25: (14 htr, inc) around (64)
Rows 26-38: htr around (64)
Switch to Faux Fur:
Rows 39-46: htr around (64)
Fasten off, and weave in ends.
Tip: If you’re having a hard time finding the stitches in the faux fur yarn, try to feel for it. You’ll be able to feel where the gap is. Or look for the main strand the yarn is made out of. Don’t do what I usually do and just stress through the row while counting and just hope that you’ve done the right amount!
Pom Pom
Use the 5mm hook for this.
With the faux fur yarn, either 6sc in a magic loop, or ch 2 and in the second loop from the hook, 6dc.
The yarn I’m working with is really difficult to pull the faux fur in a magic ring, so I’m doing the ch2 method.
Row 1: inc around (12)
Row 2: (dc, inc) around (18)
Row 3: (2dc, inc) around (24)
Row 4: (3dc, inc) around (30)
Rows 5-8: dc around (30)
Row 9: (3dc, dec) around (24)
Row 10: (2dc, dec) around (18)
Row 11: (dc, dec) around (12)
Stuff the inside of your pom pom now.
Row 10: (dec) around (6)
Tie off and leave a tail about 6 inches long. Weave the tail around the opening and pull tight. Tie off.
Put The Hat Together
The only thing to put together with this hat is the pompom on top!
With the tail of the faux fur yarn, go back and forth between the top of the hat and the bottom of the pompom a few times, until it’s on sturdily. Tie off, and weave in the end.
